If your 5th graders stare blankly when you mention volume, you’re not alone. Volume is one of those concepts that seems straightforward to adults but can completely mystify students who are still thinking in two dimensions.
You’ll walk away from this post with five research-backed strategies that help students truly understand volume as an attribute of solid figures, plus differentiation tips for every learner in your classroom.
Key Takeaway
Students understand volume best when they build, fill, and measure actual 3D objects before moving to formulas and abstract calculations.
Why Volume Matters in 5th Grade Math
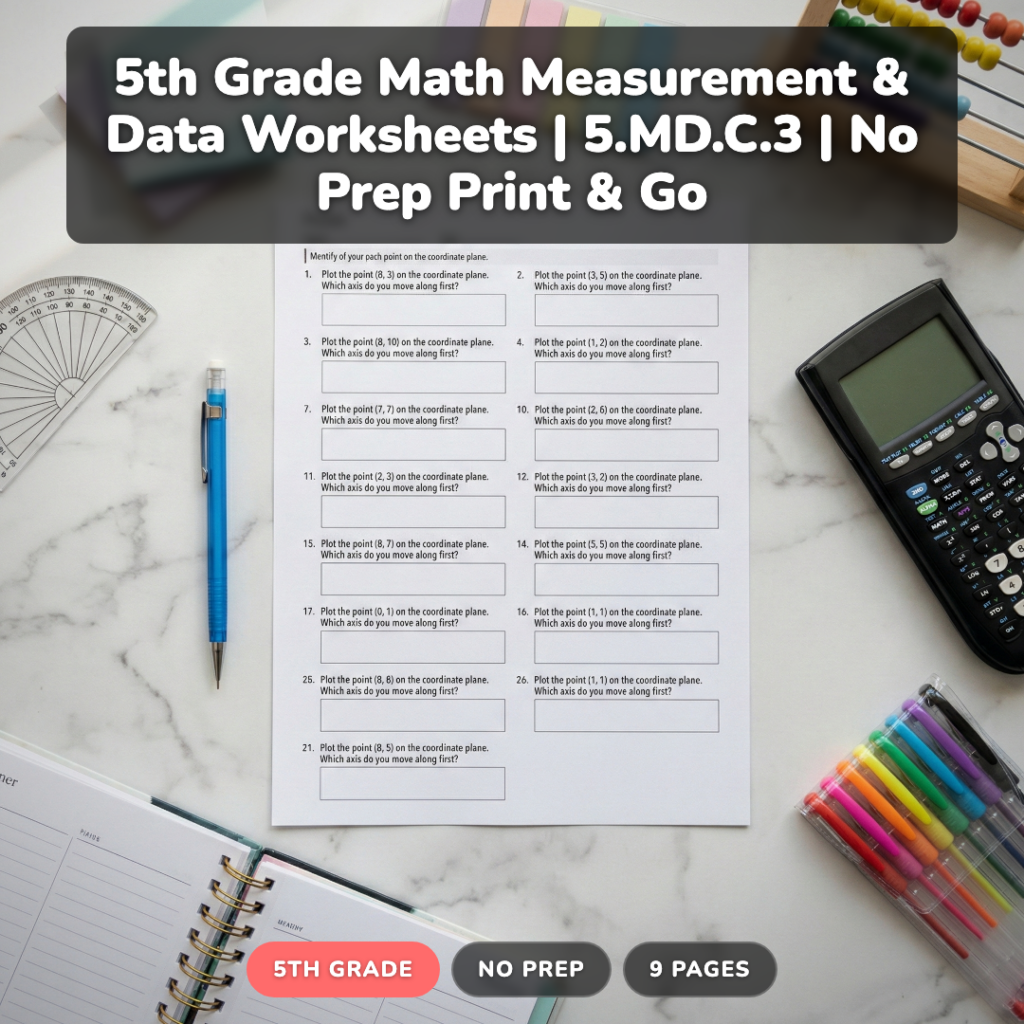
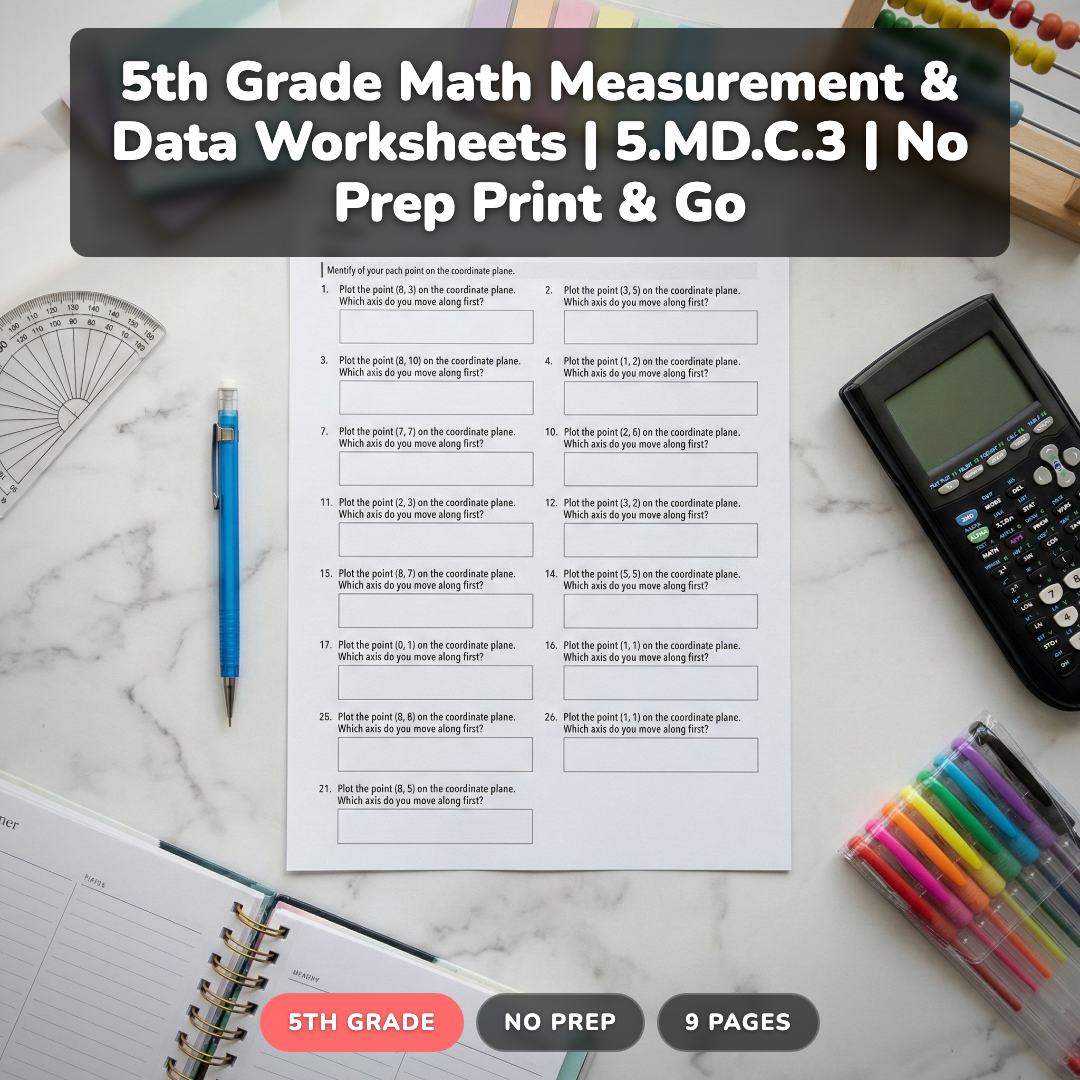
Volume represents a major conceptual leap for 5th graders. According to CCSS.Math.Content.5.MD.C.3, students must recognize volume as an attribute of solid figures and understand concepts of volume measurement. This standard builds directly on their work with area in 4th grade and prepares them for more complex geometric reasoning in middle school.
Research from the National Council of Teachers of Mathematics shows that students who master volume concepts through hands-on experiences score 23% higher on geometry assessments throughout middle school. The timing matters too — introduce volume in late fall after students are solid with multiplication and have reviewed area concepts from 4th grade.
Volume connects to real-world applications students encounter daily: packing boxes, filling containers, and understanding capacity. When students grasp that volume measures how much space is inside a 3D object, they develop spatial reasoning skills that transfer to engineering, architecture, and scientific thinking.
Looking for a ready-to-go resource? I put together a differentiated volume measurement pack that covers everything below — but first, the teaching strategies that make it work.
Common Volume Misconceptions in 5th Grade
Understanding where students get stuck helps you address confusion before it solidifies into lasting misconceptions.
Common Misconception: Students think volume and area are the same thing.
Why it happens: Both involve multiplication, and students haven’t internalized the difference between 2D and 3D measurement.
Quick fix: Use physical models — show how area covers a surface while volume fills a space.
Common Misconception: Bigger objects always have more volume than smaller ones.
Why it happens: Students rely on visual estimates rather than systematic measurement.
Quick fix: Compare a tall, thin container with a short, wide one using unit cubes.
Common Misconception: Volume formulas work like magic — multiply length × width × height without understanding why.
Why it happens: Students memorize procedures without building conceptual understanding first.
Quick fix: Always start with unit cubes before introducing formulas.
Common Misconception: Volume only applies to rectangular prisms.
Why it happens: Most textbook examples focus on boxes and rectangular containers.
Quick fix: Include cylinders, pyramids, and irregular shapes in your examples.
5 Research-Backed Strategies for Teaching Volume
Strategy 1: Unit Cube Exploration
Students build volume understanding by physically filling containers with unit cubes, making the abstract concept concrete and measurable.
What you need:
- Unit cubes (at least 100 per group)
- Small rectangular containers or boxes
- Recording sheets
- Rulers or measuring tape
Steps:
- Give each group a container and unit cubes
- Have students estimate how many cubes will fit
- Students fill the container completely, counting cubes
- Record actual count and compare to estimate
- Measure container dimensions and look for patterns
- Repeat with different-sized containers
Strategy 2: Layer-by-Layer Volume Building
Students construct rectangular prisms one layer at a time, connecting multiplication to the physical structure of volume measurement.
What you need:
- Unit cubes or linking cubes
- Grid paper
- Volume recording charts
Steps:
- Students build the bottom layer (length × width)
- Count cubes in the base layer
- Add identical layers, counting total cubes after each addition
- Record: Layer 1 = ___ cubes, Layer 2 = ___ cubes, etc.
- Discover that total volume = cubes per layer × number of layers
- Connect to length × width × height formula
Strategy 3: Real-World Container Comparison
Students measure and compare volumes of actual containers they encounter daily, building relevance and estimation skills.
What you need:
- Various containers (cereal boxes, tissue boxes, small gift boxes)
- Rice, beans, or water for filling
- Measuring cups
- Calculators
Steps:
- Students choose two containers to compare
- Make volume predictions based on visual inspection
- Measure external dimensions and calculate volume
- Fill one container with rice, then pour into the other
- Discuss why calculated and actual volumes might differ
- Rank all containers from smallest to largest volume
Strategy 4: Volume Visualization with Cross-Sections
Students develop spatial reasoning by examining how 3D objects look when sliced into layers, connecting 2D and 3D thinking.
What you need:
- Play dough or modeling clay
- Plastic knives or dental floss
- Grid paper
- Rectangular prism templates
Steps:
- Students mold a rectangular prism from clay
- Slice the prism into equal layers
- Trace each layer on grid paper
- Count squares in each traced layer
- Calculate total volume by adding all layer areas
- Compare to length × width × height calculation
Strategy 5: Volume Problem-Solving Scenarios
Students apply volume concepts to solve authentic problems, developing both computational fluency and conceptual understanding.
What you need:
- Problem scenario cards
- Calculators
- Graph paper
- Measuring tools
Steps:
- Present real-world scenario (packing moving boxes, filling aquariums)
- Students identify what information they need
- Choose appropriate measurement strategy
- Calculate volume using formulas or counting
- Check reasonableness of answer
- Present solution to class with explanation
How to Differentiate Volume Instruction for All Learners
For Students Who Need Extra Support
Start with very small numbers and concrete materials. Use 2×2×2 or 3×2×1 prisms so students can easily count and verify. Provide volume templates where students fill in numbers rather than create problems from scratch. Review prerequisite skills like area calculation and basic multiplication facts. Use color-coding to help students track length, width, and height measurements separately.
For On-Level Students
Work with standard CCSS.Math.Content.5.MD.C.3 expectations: rectangular prisms with whole number dimensions up to 10 units. Students should move fluidly between unit cube counting and formula application. Include both measurement and calculation problems. Expect students to explain their reasoning and check answers for reasonableness.
For Students Ready for a Challenge
Introduce composite figures made of multiple rectangular prisms. Explore volume relationships when dimensions double or triple. Connect to decimal measurements and real-world applications like architecture or engineering. Challenge students to find multiple ways to achieve the same volume using different dimensions.
A Ready-to-Use Volume Measurement Resource for Your Classroom
After teaching volume for several years, I created a comprehensive resource that addresses all the strategies above while saving you hours of prep time. This differentiated pack includes 132 problems across three difficulty levels, so every student in your classroom gets appropriate practice.
The Practice level focuses on unit cube counting and simple rectangular prisms. On-Level problems include formula application and multi-step scenarios. Challenge problems feature composite figures and real-world applications. Each level includes detailed answer keys and teaching notes that explain common student errors.
What makes this resource different is the progression — students start with concrete counting, move to visual representations, then advance to abstract calculations. This matches exactly how volume understanding develops in 5th grade brains.
The pack includes 9 pages of carefully scaffolded problems that you can use for whole-class instruction, math centers, or homework. No prep required — just print and go.
Grab a Free Volume Practice Sheet to Try
Want to see how this approach works with your students? I’ll send you a free sample page that includes problems from all three levels, plus teaching tips for introducing volume concepts.
Frequently Asked Questions About Teaching Volume
When should I introduce volume formulas versus unit cube counting?
Start with unit cubes for at least 3-4 lessons before introducing formulas. Students need to understand that volume measures space inside objects before memorizing length × width × height. The formula becomes meaningful when students see it as a shortcut for counting cubes in organized layers.
How do I help students who confuse area and volume?
Use physical demonstrations with flat shapes versus 3D objects. Show how area measures surface coverage (like paint on a wall) while volume measures space inside (like water in a container). Practice identifying which measurement each real-world situation requires.
What’s the best way to assess volume understanding in 5th grade?
Combine three assessment types: unit cube counting tasks, formula application problems, and real-world scenarios. Ask students to explain their thinking, not just calculate answers. Look for understanding that volume measures interior space, not just formula memorization.
How does CCSS.Math.Content.5.MD.C.3 connect to other 5th grade standards?
Volume builds on 4th grade area concepts and connects to 5th grade multiplication of whole numbers. It also supports geometric reasoning standards and prepares students for 6th grade work with surface area and more complex volume calculations.
What materials work best for hands-on volume activities?
Unit cubes are essential — plan for at least 50-100 per student group. Linking cubes work well too. For filling activities, use rice, beans, or water with various containers. Avoid materials that are too small (students lose count) or too large (limits problem complexity).
Volume instruction transforms when students experience 3D measurement through building, filling, and calculating. Remember to start concrete, move gradually toward abstract formulas, and always connect back to real-world applications your students can visualize.
What’s your go-to strategy for helping students understand volume concepts? Try the free practice sheet above and see how your students respond to this hands-on approach.