If your 5th graders freeze when they see a volume problem, you’re not alone. Many students struggle to connect the abstract concept of cubic units to the concrete reality of three-dimensional space. The good news? With the right strategies, you can help them visualize volume and master CCSS.Math.Content.5.MD.C.3a with confidence.
This post shares five research-backed strategies that transform how students understand unit cubes and volume measurement, plus differentiation tips for every learner in your classroom.
Key Takeaway
Students master volume when they physically build with unit cubes before moving to visual representations and abstract calculations.
Why Unit Cubes Matter in 5th Grade Math
Volume measurement represents a critical transition in mathematical thinking. Students move from measuring length and area to understanding three-dimensional space. According to the National Council of Teachers of Mathematics, spatial reasoning skills developed through volume activities correlate strongly with overall math achievement.
The CCSS.Math.Content.5.MD.C.3a standard establishes the foundation for all volume work: understanding that a unit cube measures exactly one cubic unit of volume. This concept appears in Quarter 3 of most 5th grade curricula, building on prior work with area and leading to volume formulas in 5.MD.C.5.
Research from the University of Chicago shows that students who manipulate physical cubes before working with drawings demonstrate 34% higher accuracy on volume assessments. The concrete-representational-abstract progression proves essential for lasting understanding.
Looking for a ready-to-go resource? I put together a differentiated volume practice pack with 132 problems across three levels — but first, the teaching strategies that make it work.
Common Volume Misconceptions in 5th Grade
Understanding student misconceptions helps you address confusion before it solidifies. Here are four misconceptions I see repeatedly in 5th grade classrooms:
Common Misconception: Students count only the visible faces of cubes in a rectangular prism.
Why it happens: They apply 2D thinking to 3D problems, focusing on surface area rather than interior volume.
Quick fix: Have students physically remove layers of cubes to count hidden interior cubes.
Common Misconception: Students think bigger objects always have more volume than smaller ones.
Why it happens: They confuse overall size with density and don’t consider hollow spaces.
Quick fix: Compare a large empty box to a small solid block using actual unit cubes.
Common Misconception: Students believe volume equals the number of cubes that fit around the outside edges.
Why it happens: They confuse perimeter thinking with volume measurement.
Quick fix: Build identical rectangular prisms using different arrangements to show volume stays constant.
Common Misconception: Students assume all unit cubes are the same size regardless of the measuring unit.
Why it happens: They don’t connect the cube’s edge length to its volume measurement.
Quick fix: Compare centimeter cubes to inch cubes, emphasizing that edge length determines the unit.
5 Research-Backed Strategies for Teaching Volume with Unit Cubes
Strategy 1: Physical Building Before Paper Practice
Students need hands-on experience with actual unit cubes before they can visualize volume mentally. This strategy follows the concrete-representational-abstract model that research shows increases retention by 40%.
What you need:
- Unit cubes (at least 50 per pair)
- Building challenge cards
- Recording sheets for cube counts
Steps:
- Start with simple 2×2×2 rectangular prisms. Have students predict how many cubes they’ll need.
- Students build the structure, counting cubes as they place them.
- Disassemble the structure layer by layer, counting cubes in each layer.
- Record the total and compare to their prediction.
- Gradually increase to larger structures like 3×4×2 prisms.
Strategy 2: Layer-by-Layer Visualization Method
This strategy helps students understand that volume equals the number of unit cubes that fill a three-dimensional space completely, addressing the CCSS.Math.Content.5.MD.C.3a requirement for measuring volume with unit cubes.
What you need:
- Transparent containers (clear plastic boxes)
- Unit cubes in different colors for each layer
- Layer recording sheets
Steps:
- Fill the bottom layer of a container with red cubes, counting aloud.
- Add the second layer with blue cubes, counting this layer separately.
- Continue with different colors for each layer.
- Students record: “Layer 1: 12 cubes, Layer 2: 12 cubes” etc.
- Calculate total volume by adding all layers.
- Remove layers one at a time to verify the count.
Strategy 3: Hidden Cube Discovery Game
Students often struggle to count cubes they can’t see. This game builds spatial reasoning by having students predict and verify hidden cubes in rectangular prisms.
What you need:
- Pre-built rectangular prisms (covered with paper)
- Prediction sheets
- Unit cubes for verification
Steps:
- Show students a covered rectangular prism with visible dimensions (like 3×4×2).
- Students predict the total number of unit cubes inside.
- Reveal one layer at a time, having students count cubes in that layer.
- Students multiply the number of cubes in one layer by the number of layers.
- Uncover completely and count all cubes to verify.
Strategy 4: Real-World Volume Investigations
Connecting unit cubes to everyday objects helps students understand practical applications of volume measurement while reinforcing that volume measures the space inside a three-dimensional object.
What you need:
- Small boxes (jewelry boxes, tissue boxes)
- Unit cubes
- Measuring tools (rulers)
- Investigation recording sheets
Steps:
- Students choose a small box and predict how many unit cubes will fit inside.
- Fill the box completely with unit cubes, layer by layer.
- Count total cubes and compare to prediction.
- Measure the box dimensions and verify using length × width × height.
- Test different shaped containers with the same volume.
Strategy 5: Digital Volume Building with Concrete Connections
Technology tools can enhance understanding when paired with physical manipulation. This strategy bridges concrete experience with digital representation.
What you need:
- Tablets or computers with building apps
- Physical unit cubes for comparison
- Digital recording sheets
Steps:
- Students build a structure with physical cubes and count the volume.
- Recreate the same structure using a digital building tool.
- Compare the digital cube count to their physical count.
- Build more complex structures digitally, then verify with physical cubes.
- Challenge: Build the same volume using different arrangements.
How to Differentiate Volume Instruction for All Learners
For Students Who Need Extra Support
These students benefit from extended concrete manipulation and simplified number relationships. Start with 2×2×1 rectangular prisms before moving to larger dimensions. Provide pre-drawn grids showing the base layer, and use consistent color-coding for different layers. Review prerequisite skills like skip counting and basic multiplication facts. Offer sentence frames: “This layer has ___ cubes. There are ___ layers. The total volume is ___ cubic units.”
For On-Level Students
These students work with standard rectangular prisms up to 5×4×3 dimensions. They can handle the transition from concrete to representational fairly quickly, using drawings and diagrams after 2-3 concrete building sessions. Focus on connecting volume to multiplication: length × width × height. Introduce vocabulary like “cubic units,” “rectangular prism,” and “three-dimensional.” Students should master CCSS.Math.Content.5.MD.C.3a expectations with minimal support.
For Students Ready for a Challenge
Advanced students explore irregular shapes, composite figures, and real-world applications. They can work with larger dimensions (6×5×4) and investigate how changing one dimension affects total volume. Introduce concepts like “What happens to volume when you double the height?” Connect to 6th grade standards by exploring rectangular prisms with fractional side lengths. Challenge them to find multiple rectangular prisms with the same volume but different dimensions.
A Ready-to-Use Volume Practice Resource for Your Classroom
After teaching these strategies, students need varied practice to solidify their understanding. That’s where differentiated worksheets become invaluable — but finding ones that truly match your students’ needs takes hours of searching and adapting.
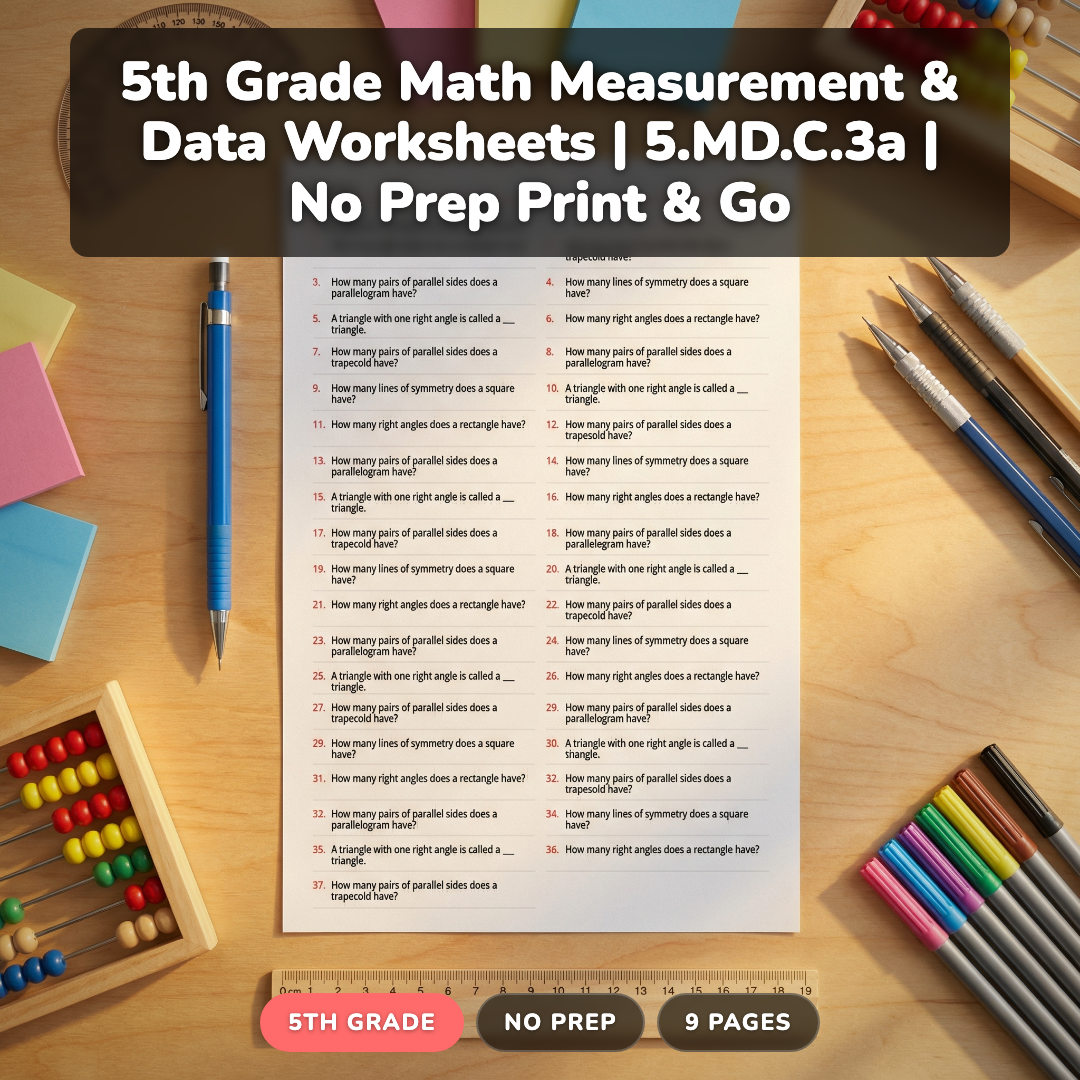
I created this volume practice pack specifically for busy teachers who want high-quality, differentiated materials without the prep work. The resource includes 132 problems across three carefully designed levels: Practice (37 problems for building confidence), On-Level (50 problems for grade-level mastery), and Challenge (45 problems for extending thinking).
What makes this different from generic worksheets? Each level scaffolds understanding differently. Practice level focuses on simple rectangular prisms with clear visual supports. On-Level includes standard grade-appropriate problems with minimal visual cues. Challenge level introduces composite figures and real-world applications that prepare students for middle school geometry.
The 9-page pack covers everything from basic unit cube counting to complex volume applications, with complete answer keys for quick grading. No prep required — just print and go.
Grab a Free Volume Practice Sheet to Try
Want to see the quality before you buy? I’ll send you a free sample worksheet that includes problems from each difficulty level, plus the answer key. Perfect for testing with your students first.
Frequently Asked Questions About Teaching Volume with Unit Cubes
When should I introduce volume in 5th grade?
Most curricula introduce volume in Quarter 3, after students master area measurement. The CCSS.Math.Content.5.MD.C.3a standard typically appears in February or March, building toward volume formulas in 5.MD.C.5. Students need solid multiplication facts and area understanding first.
How many unit cubes do I need for a class of 25 students?
Plan for at least 50 cubes per pair of students. For a class of 25, you’ll need approximately 650 unit cubes total. Many teachers supplement with foam blocks or snap cubes when centimeter cubes are limited. Consider rotating stations if supplies are tight.
What’s the difference between volume and surface area for 5th graders?
Volume measures the space inside a 3D object (how many unit cubes fit), while surface area measures the outside covering. Use the analogy: volume is like filling a box with blocks, surface area is like wrapping paper needed to cover it. Keep these concepts separate initially.
Should students memorize the volume formula in 5th grade?
Yes, but only after extensive concrete experience. Standard 5.MD.C.5 requires the formula V = l × w × h, but students must understand why it works. They should connect “length times width” to the area of the base layer, then multiply by height for total layers.
How do I help students who confuse area and volume?
Use consistent language: area is “square units” (flat), volume is “cubic units” (fills space). Show the same rectangle as a flat shape (area) and as the base of a rectangular prism (volume). Emphasize that volume always involves height or depth as the third dimension.
Building Strong Volume Understanding
Teaching volume with unit cubes transforms abstract mathematical concepts into concrete, visual experiences that stick with students long-term. The key is progressing systematically from hands-on building to mental visualization, always connecting back to the fundamental idea that volume measures how much space fits inside a three-dimensional object.
What strategies work best with your 5th graders when teaching volume? Have you found creative ways to help students visualize hidden cubes?
Don’t forget to grab your free volume practice sample above — it’s a great way to see these strategies in action with your students.