If your 5th graders look confused when you ask them to classify a rhombus versus a rectangle, you’re not alone. Geometry classification is one of those skills that seems straightforward until you realize students are memorizing shape names without understanding the underlying properties that connect them.
This post breaks down exactly how to teach geometric classification so your students understand why shapes belong in families — not just what to call them. You’ll walk away with concrete strategies, common misconception fixes, and differentiation tips that work in any classroom.
Key Takeaway
Teaching geometry classification successfully means helping students see properties first, then names — building understanding from the ground up rather than memorizing isolated facts.
Why Geometry Classification Matters in 5th Grade
Geometric classification sits at a crucial turning point in your students’ mathematical development. This is where they transition from simply identifying shapes to understanding the logical relationships between them. CCSS.Math.Content.5.G.B.4 requires students to classify two-dimensional figures in a hierarchy based on properties — a skill that builds the foundation for middle school geometry proofs and logical reasoning.
Research from the National Council of Teachers of Mathematics shows that students who master hierarchical classification in elementary school demonstrate 23% higher achievement in high school geometry. The timing matters too — 5th grade is typically when students encounter this standard between February and April, after they’ve solidified their understanding of individual shape properties.
This standard connects directly to algebraic thinking as students learn to use ‘if-then’ logic: if a shape has four equal sides and four right angles, then it’s a square. It also builds spatial reasoning skills that transfer to measurement, coordinate geometry, and even data analysis in later grades.
Looking for a ready-to-go resource? I put together a differentiated geometry classification pack that covers everything below — but first, the teaching strategies that make it work.
Common Geometry Misconceptions in 5th Grade
Understanding where students typically struggle helps you address these issues before they become entrenched. Here are the four most common misconceptions I see year after year:
Common Misconception: A square isn’t a rectangle because it looks different.
Why it happens: Students focus on visual appearance rather than mathematical properties. They see squares and rectangles as completely separate categories.
Quick fix: Use property charts to show that squares have all rectangle properties plus one additional property (four equal sides).
Common Misconception: Shapes rotated from their ‘standard’ position are different shapes entirely.
Why it happens: Students rely on orientation rather than properties. A diamond shape is seen as different from a square.
Quick fix: Practice rotating shapes while listing properties that stay the same regardless of position.
Common Misconception: All parallelograms are rectangles.
Why it happens: Students overgeneralize from the most familiar parallelogram (rectangle) to all parallelograms.
Quick fix: Show parallelograms with clearly non-right angles and emphasize that rectangles are a special type of parallelogram.
Common Misconception: Shapes can only belong to one category.
Why it happens: Students think classification works like sorting toys — each item goes in exactly one bin.
Quick fix: Use nested circles or family tree diagrams to show how shapes can belong to multiple categories simultaneously.
5 Research-Backed Strategies for Teaching Geometry Classification
Strategy 1: Property Detective Investigation
Transform your students into geometry detectives who solve the mystery of shape relationships by investigating properties systematically. This approach builds understanding from the ground up rather than starting with shape names.
What you need:
- Shape cards or cutouts (include non-examples)
- Property investigation sheets
- Magnifying glasses (optional but engaging)
- Evidence recording charts
Steps:
- Present a collection of quadrilaterals without naming them
- Students measure angles, sides, and test for parallel lines
- Record findings on evidence charts: number of sides, angle measures, parallel sides, equal sides
- Group shapes based on shared properties before revealing names
- Discuss how some shapes share multiple property groups
Strategy 2: Shape Family Tree Construction
Help students visualize hierarchical relationships by building family trees that show how shapes are related through shared properties. This makes abstract classification concepts concrete and memorable.
What you need:
- Large poster paper or bulletin board space
- Shape cutouts in different colors
- Property labels
- Connecting arrows or string
Steps:
- Start with the broadest category (polygons) at the top
- Add quadrilaterals as the next level down
- Branch into parallelograms, trapezoids, and other quadrilaterals
- Show rectangles, rhombi, and squares as special parallelograms
- Connect each level with property requirements
- Test the tree by tracing paths from specific shapes to general categories
Strategy 3: Yes/No Property Sorting Game
Engage students in active classification using a fast-paced sorting game that reinforces property-based thinking. This strategy works especially well for kinesthetic learners and builds fluency with geometric vocabulary.
What you need:
- Shape cards (one per student)
- Property question cards
- Two designated areas (Yes/No zones)
- Timer
Steps:
- Each student receives a shape card
- Call out a property question: ‘Does your shape have four right angles?’
- Students quickly move to Yes or No zones
- Discuss results and have students explain their reasoning
- Rotate shape cards and ask a new property question
- Progress from simple properties to more complex combinations
Strategy 4: Venn Diagram Classification
Use overlapping circles to help students understand that shapes can belong to multiple categories simultaneously. This visual approach directly addresses the common misconception that shapes fit into only one group.
What you need:
- Large Venn diagram templates
- Shape manipulatives or cards
- Property labels for each circle
- Dry erase markers
Steps:
- Draw two overlapping circles labeled with different properties
- Start simple: ‘Four equal sides’ and ‘Four right angles’
- Students place shapes in appropriate regions
- Discuss what belongs in the overlap (squares)
- Add a third circle for more complex classifications
- Have students explain their placement choices using property language
Strategy 5: Real-World Shape Hunt and Classification
Connect classroom learning to authentic contexts by having students find and classify shapes in their environment. This strategy helps students see geometry as relevant and applicable beyond worksheets.
What you need:
- Clipboards and recording sheets
- Digital cameras or phones (if available)
- Measuring tools
- Classification charts
Steps:
- Take students on a shape hunt around school or assign homework hunts
- Students photograph or sketch geometric shapes they find
- Back in class, analyze each shape’s properties
- Classify findings using the hierarchical system you’ve taught
- Create a class gallery showing real-world examples of each shape family
- Discuss why certain shapes are common in architecture and design
How to Differentiate Geometry Classification for All Learners
For Students Who Need Extra Support
Start with concrete manipulatives and focus on one property at a time. Provide visual reference charts showing key properties with pictures and simple language. Begin classification work with just squares and rectangles before adding other quadrilaterals. Use color-coding to help students track different properties, and allow extra time for hands-on exploration. Review prerequisite skills like identifying right angles and parallel lines if needed.
For On-Level Students
Students working at grade level should master the full quadrilateral hierarchy required by CCSS.Math.Content.5.G.B.4. They should classify parallelograms, rectangles, rhombi, squares, and trapezoids based on properties. Provide opportunities to explain their reasoning using mathematical vocabulary. Include practice with both regular and irregular examples, and expect students to use proper geometric terms consistently.
For Students Ready for a Challenge
Extend learning by including triangle classification alongside quadrilaterals. Challenge students to create their own classification systems for irregular polygons or explore how 3D shapes relate to their 2D faces. Introduce coordinate geometry connections by plotting vertices and calculating properties. Have advanced students research how geometric classification applies in fields like architecture, art, or engineering.
A Ready-to-Use Geometry Classification Resource for Your Classroom
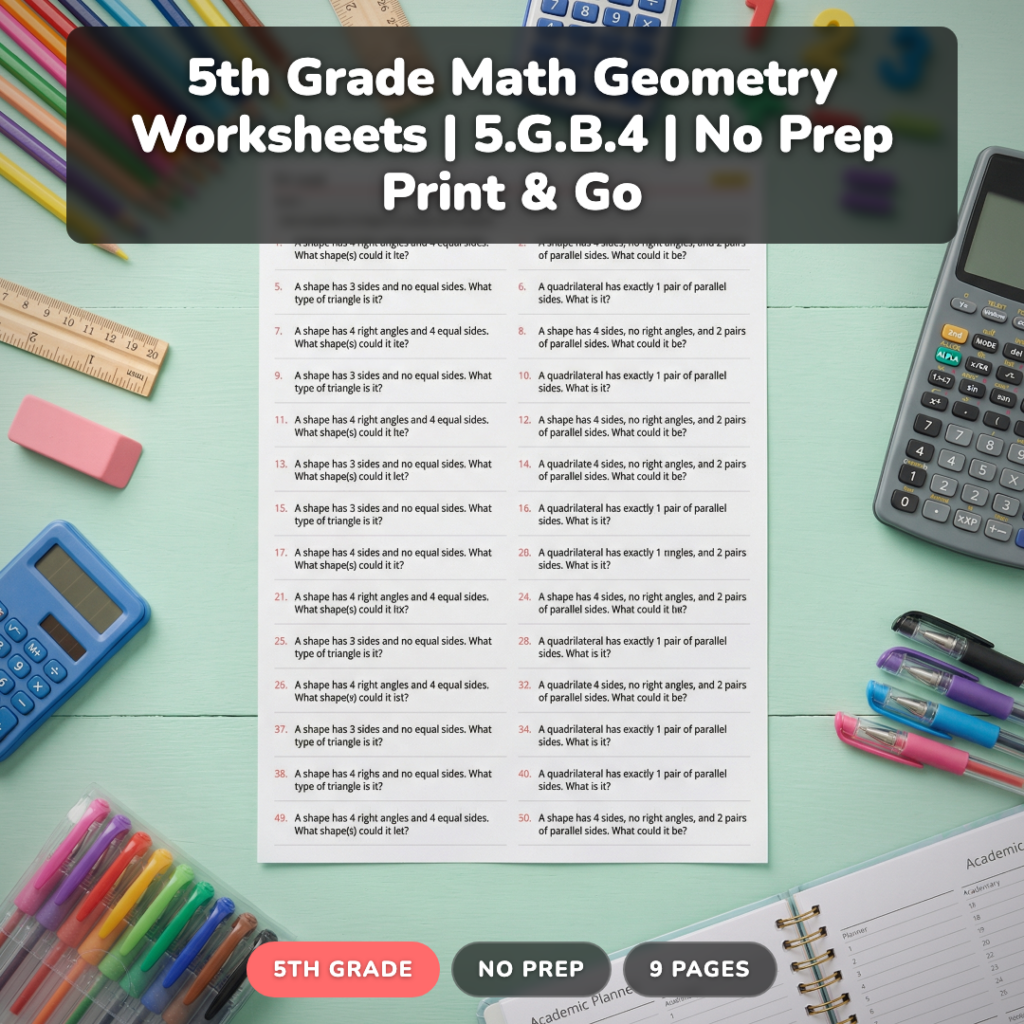
Teaching geometric classification effectively requires a lot of differentiated practice — and creating 132 problems across three difficulty levels takes serious time. That’s exactly what I’ve put together in this comprehensive geometry worksheet pack.
The resource includes 37 practice problems for students who need extra support, 50 on-level problems that align perfectly with grade 5 standards, and 45 challenge problems for your advanced learners. Each level scaffolds appropriately while maintaining the same core concepts, so you can meet every student where they are without creating entirely separate lessons.
What makes this different from generic geometry worksheets is the intentional progression through hierarchical thinking. Students don’t just identify shapes — they analyze properties, make classifications, and explain their reasoning using mathematical language.

The 9-page pack is completely no-prep and includes answer keys for quick grading. Perfect for math centers, homework, or assessment preparation.
Grab a Free Geometry Sample to Try
Want to see how these differentiated problems work before diving in? I’ve pulled together a free sample that includes one problem from each difficulty level plus a quick reference guide for teaching shape properties. Drop your email below and I’ll send it right over.
Frequently Asked Questions About Teaching Geometry Classification
What’s the difference between identifying shapes and classifying them hierarchically?
Shape identification means naming individual shapes (this is a rectangle). Hierarchical classification means understanding relationships between shape families (a rectangle is also a parallelogram and a quadrilateral). CCSS.Math.Content.5.G.B.4 requires the deeper hierarchical understanding.
Should I teach all quadrilaterals at once or introduce them gradually?
Introduce gradually, starting with rectangles and squares, then adding parallelograms and rhombi. Save trapezoids for last since they break the parallel-sides pattern. This scaffolded approach prevents overwhelming students with too many new concepts simultaneously.
How do I help students remember that squares are rectangles?
Use the ‘special case’ language consistently. Say ‘A square is a special rectangle with four equal sides.’ Create visual hierarchies showing squares nested inside rectangles. Practice with real examples and have students explain why squares qualify as rectangles using property language.
What manipulatives work best for teaching geometric classification?
Pattern blocks, geoboards, and cut-out shapes work well for hands-on exploration. Transparent shapes help with overlaying and comparing. Avoid relying only on perfect textbook examples — include rotated shapes and various sizes to build flexible thinking.
How can I assess student understanding of hierarchical classification?
Ask students to sort shapes into multiple categories simultaneously, explain why a shape belongs to several families, or create their own shape family trees. Avoid simple naming tasks — focus on reasoning and property-based explanations instead.
The key to successful geometry classification instruction is patience and plenty of hands-on practice. When students understand that mathematical classification is about properties, not just appearance, they develop the logical reasoning skills that will serve them well in all areas of mathematics.
What’s your go-to strategy for helping students understand that squares are rectangles? And don’t forget to grab that free geometry sample above — it’s a great way to see these concepts in action with your students.