If your fourth graders freeze when they see the word “angle” or think every corner is a 90-degree angle, you’re not alone. Teaching angle concepts can feel overwhelming when students struggle to move beyond basic shape recognition to understanding angles as measurable geometric relationships.
This post breaks down five research-backed strategies that help fourth graders master CCSS.Math.Content.4.MD.C.5 — recognizing angles as geometric shapes formed by two rays sharing a common endpoint and understanding angle measurement concepts. You’ll get concrete teaching methods, differentiation tips, and solutions for the most common misconceptions.
Key Takeaway
Students master angle concepts when they experience angles through movement, visual models, and real-world connections before moving to abstract measurement.
Why Angle Understanding Matters in Fourth Grade
Angle recognition and measurement form the foundation for geometry concepts students will encounter through high school. CCSS.Math.Content.4.MD.C.5 specifically requires students to recognize angles as geometric shapes formed wherever two rays share a common endpoint and understand concepts of angle measurement.
This standard bridges concrete shape work from earlier grades with the abstract measurement concepts students will tackle in fifth grade and beyond. Research from the National Council of Teachers of Mathematics shows that students who develop strong spatial reasoning skills in elementary school perform 23% better on high school geometry assessments.
Fourth grade is the critical year for building angle vocabulary (vertex, ray, degree) and connecting visual angle recognition to measurement concepts. Students need to understand that angles exist everywhere — not just in triangles and squares — and that angle size relates to the amount of rotation between two rays, not the length of the rays themselves.
Looking for a ready-to-go resource? I put together a differentiated angles practice pack that covers everything below — but first, the teaching strategies that make it work.
Common Angle Misconceptions in Fourth Grade
Understanding these misconceptions helps you address them proactively before they become deeply rooted.
Common Misconception: Students think longer rays mean bigger angles.
Why it happens: They apply length measurement concepts to angle measurement.
Quick fix: Use moveable rays (straws, pencils) to show angle size stays constant regardless of ray length.
Common Misconception: All corners are 90-degree angles.
Why it happens: Most classroom objects have right angles, creating a limited reference point.
Quick fix: Hunt for acute and obtuse angles in the classroom — chair backs, open scissors, book covers.
Common Misconception: Angles only exist in geometric shapes.
Why it happens: Traditional textbook examples focus on triangles and polygons.
Quick fix: Point out angles in everyday objects — door hinges, clock hands, laptop screens.
Common Misconception: The vertex is the angle instead of where the angle is measured from.
Why it happens: Students confuse the point with the space between rays.
Quick fix: Use colored highlighting to show the angle as the space between rays, with the vertex as the starting point.
5 Research-Backed Strategies for Teaching Angles
Strategy 1: Body Movement Angle Exploration
Students use their bodies to create and feel different angle sizes, building kinesthetic understanding before moving to visual representations.
What you need:
- Open floor space
- Angle vocabulary cards
- Optional: music for movement transitions
Steps:
- Have students extend both arms straight out to their sides (180-degree angle)
- Slowly bring arms together to form smaller angles while calling out “acute,” “right,” or “obtuse”
- Practice “angle walks” where students pivot their bodies to show different angle measurements
- Play “Human Protractor” — one student is the vertex, two others are the rays
- Challenge students to create specific angle types with partners
Strategy 2: Real-World Angle Hunt
Students identify and categorize angles in their environment, connecting abstract concepts to concrete examples they encounter daily.
What you need:
- Clipboards and recording sheets
- Digital cameras or tablets (optional)
- Angle classification chart
Steps:
- Create a classroom angle hunt checklist with specific items to find
- Send students in pairs to locate acute, right, and obtuse angles
- Have them sketch or photograph examples with labels
- Gather to share findings and discuss why certain angles appear frequently in design
- Create a classroom angle museum with student discoveries
Strategy 3: Interactive Angle Construction
Students build angles using manipulatives, developing understanding of rays, vertices, and angle relationships through hands-on construction.
What you need:
- Straws or craft sticks
- Brass fasteners or pipe cleaners
- Protractors (for advanced work)
- Angle recording sheets
Steps:
- Give each student two straws and a fastener to create adjustable angles
- Practice opening and closing the “angle tool” to show different measurements
- Challenge students to match angles shown on cards or projected images
- Have partners create angles for each other to identify and classify
- Introduce protractor use for students ready to measure specific degrees
Strategy 4: Angle Sorting and Classification Games
Students practice angle recognition through engaging sorting activities that reinforce vocabulary and visual discrimination skills.
What you need:
- Angle picture cards (various orientations)
- Sorting mats labeled acute, right, obtuse
- Timer for game variations
- Self-checking answer keys
Steps:
- Start with clear examples of each angle type in standard orientation
- Add angles in different orientations to challenge visual processing
- Play “Angle Speed Sort” where teams race to categorize cards correctly
- Create “Angle Concentration” matching games with angle pictures and names
- Use “Angle Debate” where students justify their classification choices
Strategy 5: Technology-Enhanced Angle Exploration
Students use digital tools to manipulate angles dynamically, seeing how angle measurements change in real-time as they adjust ray positions.
What you need:
- Tablets or computers
- Geometry apps (GeoGebra, Scratch Jr.)
- Digital protractor tools
- Projection capability for whole-class demonstrations
Steps:
- Demonstrate digital angle creation using geometry software
- Have students create angles and watch degree measurements change in real-time
- Challenge them to create specific angle measurements using digital tools
- Use apps that show angle rotation animations
- Create digital angle art projects that incorporate different angle types
How to Differentiate Angle Instruction for All Learners
For Students Who Need Extra Support
Begin with concrete angle experiences using body movements and large manipulatives. Focus on acute vs. obtuse recognition before introducing right angles. Provide visual reference charts showing clear examples of each angle type. Use consistent vocabulary and repeat key concepts frequently. Consider reviewing basic shape properties as a foundation before moving to angle-specific instruction.
For On-Level Students
Students should master classification of acute, right, and obtuse angles in various orientations. They can identify angles in real-world contexts and explain their reasoning. Introduce basic protractor use for measuring common angles like 30°, 45°, 60°, and 90°. Connect angle concepts to other geometry topics like triangles and quadrilaterals.
For Students Ready for a Challenge
Extend learning to reflex angles and precise degree measurement. Challenge students to find angle relationships in complex geometric figures. Introduce angle addition concepts and complementary/supplementary angle relationships. Connect angles to real-world applications like architecture, art, and engineering design problems.
A Ready-to-Use Angle Resource for Your Classroom
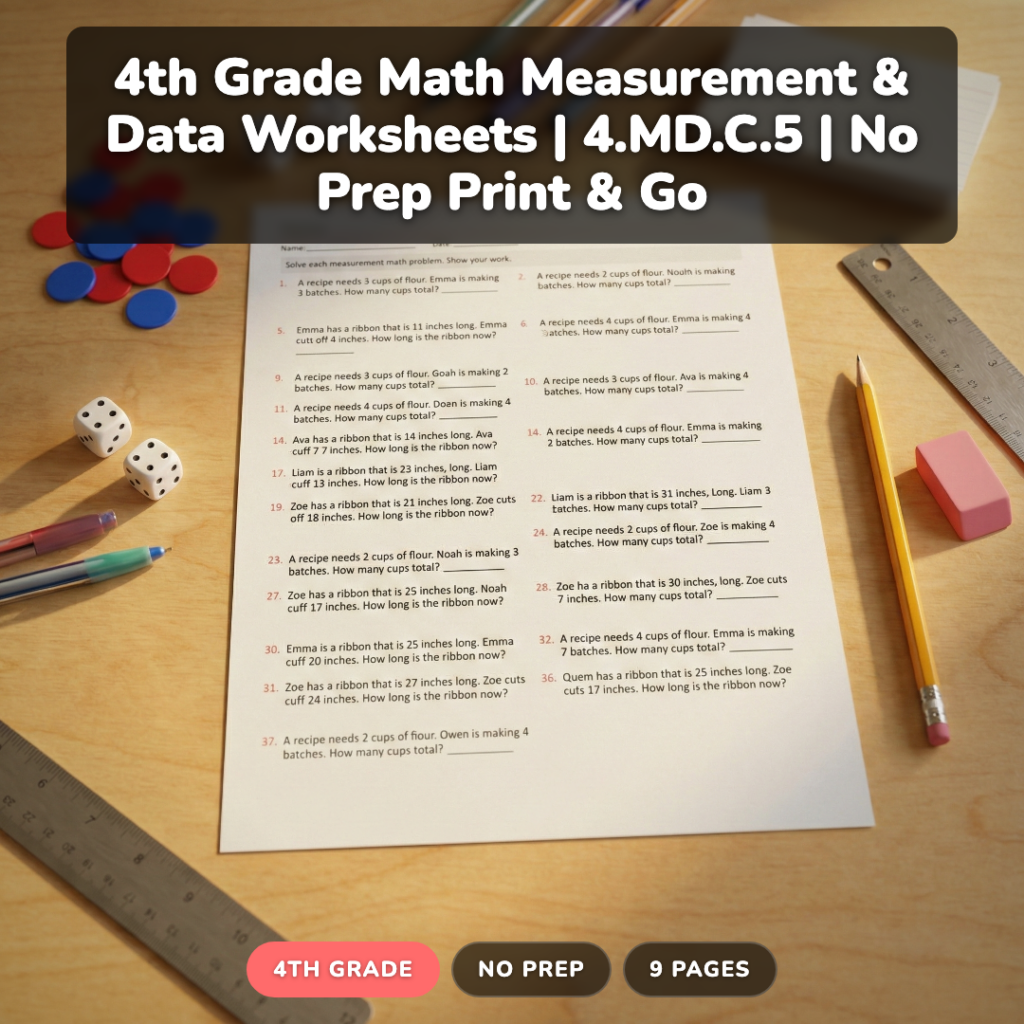
After years of teaching angle concepts, I created a comprehensive resource that addresses every aspect of CCSS.Math.Content.4.MD.C.5 with built-in differentiation. This 9-page pack includes 132 carefully crafted problems across three difficulty levels.
The Practice level (37 problems) focuses on basic angle identification and vocabulary building. The On-Level section (50 problems) develops classification skills and real-world application. The Challenge level (45 problems) introduces measurement concepts and complex angle relationships.
What makes this resource different is the systematic progression from concrete recognition to abstract understanding. Each level includes visual supports, clear directions, and answer keys for easy implementation. You can use it for whole-class instruction, small group work, or independent practice.
The resource saves hours of prep time while ensuring every student gets appropriately challenging practice with angle concepts.

Grab a Free Angle Assessment to Try
Want to see the teaching approach in action? I’ll send you a free angle identification assessment that includes all three difficulty levels plus an answer key. Perfect for gauging where your students are before diving into instruction.
Frequently Asked Questions About Teaching Angles
When should fourth graders learn to use protractors?
CCSS.Math.Content.4.MD.C.5 focuses on angle recognition and basic measurement concepts rather than precise protractor use. Introduce protractors for measuring common angles (30°, 45°, 90°) with advanced students, but prioritize visual classification and estimation skills for most fourth graders.
How do I help students who confuse acute and obtuse angles?
Use memory devices like “acute is cute and small” or “obtuse is loose and wide.” Practice with body movements where students make angles with their arms. Provide reference cards showing clear examples, and focus on comparison activities rather than isolated identification until concepts solidify.
What’s the biggest mistake teachers make when teaching angles?
Starting with protractor measurement before students understand what angles actually are. Students need extensive experience recognizing angles as the space between two rays before moving to numerical measurement. Build conceptual understanding first, then add measurement tools.
How can I connect angle learning to other subjects?
Art class offers natural angle connections through geometric design and perspective drawing. PE activities like gymnastics and sports involve body angles. Science connections include sundials, ramps, and simple machines. Social studies can incorporate angles in architecture and map reading.
What prerequisite skills do students need for angle work?
Students should recognize basic shapes, understand the concept of corners or vertices, and have experience with directional vocabulary (left, right, turn). Basic understanding of measurement concepts and number relationships also supports angle learning, though specific measurement skills aren’t required initially.
Teaching angles successfully comes down to building conceptual understanding through movement, visual exploration, and real-world connections before moving to abstract measurement. When students experience angles kinesthetically and see them everywhere in their environment, the mathematical concepts make sense.
What’s your biggest challenge when teaching angle concepts? Try the body movement strategy first — it’s amazing how quickly students grasp angle relationships when they feel them with their whole bodies. Don’t forget to grab your free angle assessment above to get started!