If your second graders are still measuring everything with paper clips or struggling to line up rulers correctly, you’re not alone. Teaching measurement is one of those skills that looks simple on paper but requires tons of hands-on practice and explicit instruction to master.
You need strategies that help students understand not just how to measure, but when to use different tools and why accuracy matters. Here’s what actually works in the classroom, plus ready-to-use activities that make measurement stick.
Key Takeaway
Successful measurement instruction combines tool exploration, systematic practice with alignment, and real-world problem solving across multiple units.
Why Measurement Matters in Second Grade
Second grade is when students transition from non-standard measurement (paper clips, cubes) to standard tools like rulers and measuring tapes. According to the National Council of Teachers of Mathematics, students who master measurement concepts in elementary grades show 23% higher performance in geometry and data analysis later.
The timing is crucial. By second grade, students have developed enough fine motor skills to handle rulers accurately and enough number sense to work with measurements up to 100 units. CCSS.Math.Content.2.MD.A.1 specifically requires students to select appropriate tools and measure accurately — skills that build directly toward third grade’s work with area and perimeter.
Research from the University of Buffalo shows that students who struggle with measurement often lack spatial reasoning skills rather than number knowledge. This means your instruction needs to focus heavily on tool manipulation and visual alignment, not just reading numbers.
Looking for a ready-to-go resource? I put together a differentiated measurement practice pack that covers everything below — but first, the teaching strategies that make it work.
Common Measurement Misconceptions in Second Grade
Understanding where students get stuck helps you address problems before they become ingrained habits. Here are the four misconceptions I see most often:
Common Misconception: Students start measuring from the 1 instead of 0 on the ruler.
Why it happens: They confuse counting numbers with measurement units and think the first line means “1.”
Quick fix: Use rulers with highlighted zero points and practice “zero alignment” daily.
Common Misconception: Students think longer objects always need longer tools.
Why it happens: They haven’t developed tool efficiency concepts yet.
Quick fix: Demonstrate measuring long objects with short rulers using multiple measurements.
Common Misconception: Students round to the nearest “big number” instead of reading precise measurements.
Why it happens: They’re overwhelmed by all the lines and default to familiar numbers.
Quick fix: Start with rulers showing only inch marks, gradually add half-inches.
Common Misconception: Students think measurement is exact when the object falls between lines.
Why it happens: They expect math to have one right answer and get frustrated by “about” measurements.
Quick fix: Teach “closest to” language and celebrate good estimates.
5 Research-Backed Strategies for Teaching Measurement
Strategy 1: Tool Exploration Stations
Before students can choose appropriate tools, they need to understand what each tool does best. Set up stations where students explore different measuring tools with the same objects.
What you need:
- Rulers, yardsticks, measuring tapes, meter sticks
- Various objects (books, desks, paper strips, string)
- Recording sheets for each station
Steps:
- Place the same 5-6 objects at each station with different tools
- Students rotate and measure the same objects with different tools
- Record which tool worked best for each object and why
- Discuss findings as a class, creating a “Best Tool” anchor chart
- Practice tool selection with new objects
Strategy 2: Zero Point Mastery
The most critical measurement skill is proper alignment. Students must understand that measurement starts at zero, not one, and practice aligning objects correctly every time.
What you need:
- Rulers with highlighted zero points
- Various small objects to measure
- “Zero Detective” recording sheets
Steps:
- Demonstrate incorrect alignment (starting at 1) and ask what’s wrong
- Show correct zero alignment with exaggerated movements
- Students practice with guided objects, saying “zero lines up” aloud
- Partner practice with peer checking for zero alignment
- Independent practice with self-checking using a mirror
Strategy 3: Measurement Estimation Games
Building number sense for measurement requires lots of estimation practice. Students need to develop intuition for what different lengths look like before they can measure accurately.
What you need:
- “Estimation Station” objects of various known lengths
- Recording sheets with estimate/actual columns
- Measuring tools for checking
Steps:
- Students estimate length of object without measuring
- Record estimate, then measure actual length
- Compare estimate to actual, discussing reasonableness
- Keep running record of “closest estimates” for motivation
- Gradually introduce objects with trickier lengths
Strategy 4: Real-World Measurement Projects
Students understand measurement best when they see authentic purposes. Create projects that require tool selection and accurate measurement for genuine reasons.
What you need:
- Classroom objects needing measurement (bulletin board borders, desk arrangements)
- Various measuring tools
- Project planning sheets
Steps:
- Present real classroom problem requiring measurement
- Students choose appropriate tools and justify selection
- Measure carefully and record findings
- Use measurements to solve the original problem
- Reflect on tool choices and measurement accuracy
Strategy 5: Measurement Error Analysis
Students learn best when they analyze mistakes and understand why accuracy matters. Show common measurement errors and have students become “measurement detectives.”
What you need:
- Photos or examples of incorrect measurements
- “Detective” worksheets
- Actual objects to re-measure correctly
Steps:
- Show example of incorrect measurement (wrong tool, poor alignment, etc.)
- Students identify what went wrong and explain the error
- Demonstrate correct method for comparison
- Students practice identifying errors in multiple examples
- Apply learning by re-measuring problem examples correctly
How to Differentiate Measurement for All Learners
For Students Who Need Extra Support
Start with non-standard units before introducing rulers. Use large, clear rulers with only inch markings. Provide physical guides like paper strips cut to exact lengths for comparison. Practice zero alignment daily with guided support. Focus on one tool at a time rather than choice between tools. Use concrete objects that align perfectly with ruler marks to build success.
For On-Level Students
Practice with standard rulers including half-inch marks. Work with CCSS.Math.Content.2.MD.A.1 expectations: selecting appropriate tools and measuring accurately to the nearest unit. Include both metric and customary units. Encourage estimation before measuring. Provide varied objects requiring different tools and measurement strategies.
For Students Ready for a Challenge
Introduce fractional measurements and discuss precision. Compare metric and customary systems. Tackle measurement problems requiring multiple steps or tool combinations. Explore measurement in different contexts (cooking, construction, science). Create measurement challenges for classmates. Connect to area and perimeter concepts from third grade standards.
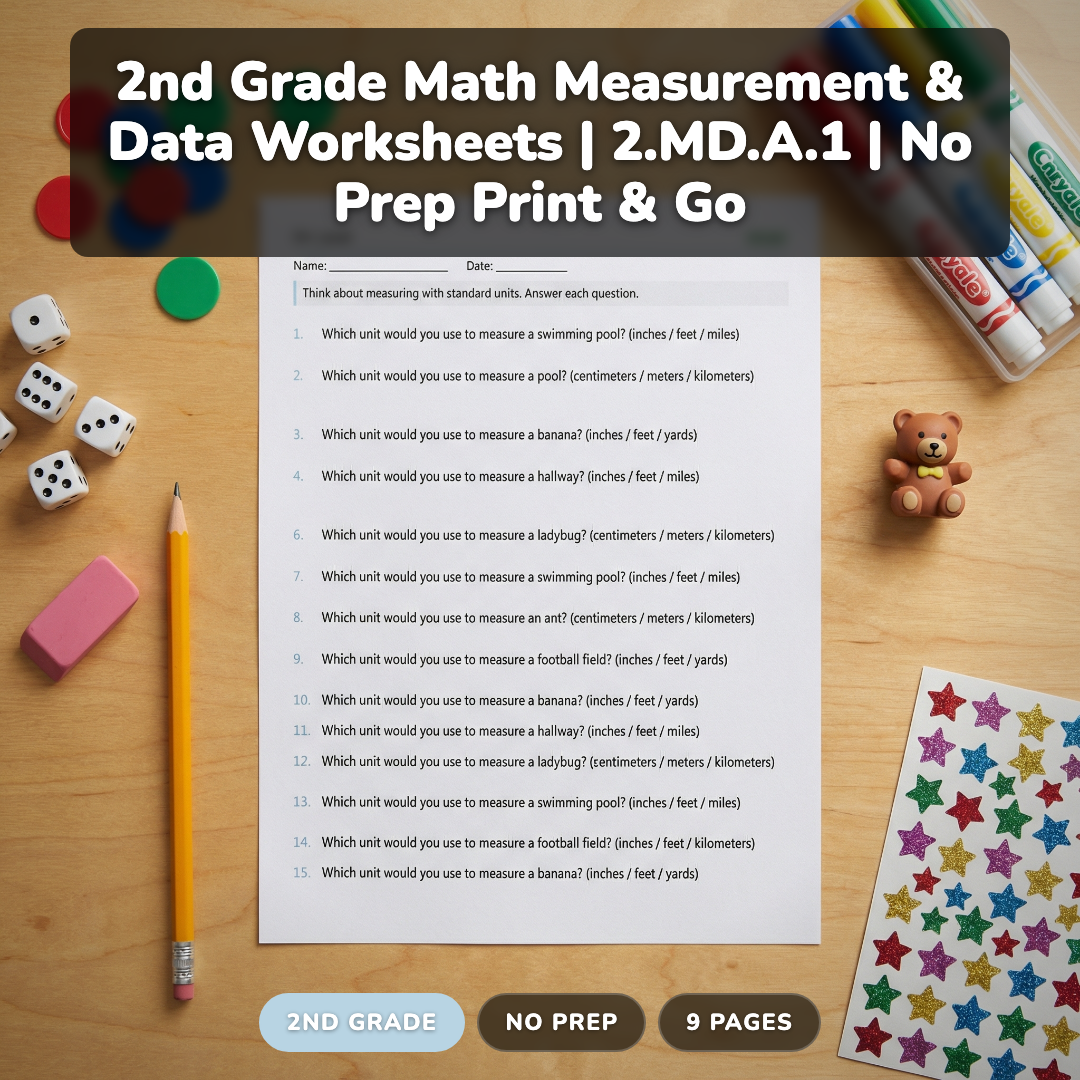
A Ready-to-Use Measurement Resource for Your Classroom
Teaching measurement effectively requires tons of varied practice, but creating differentiated worksheets takes hours you don’t have. That’s exactly why I created this comprehensive measurement practice pack.
This resource includes 106 problems across three difficulty levels: 30 practice problems for students building foundational skills, 40 on-level problems aligned perfectly with CCSS.Math.Content.2.MD.A.1, and 36 challenge problems for advanced learners. Each level focuses on tool selection and accurate measurement with age-appropriate complexity.
What makes this different from other measurement resources is the systematic progression. Students start with clear, simple measurements and gradually work toward more complex scenarios requiring tool choice and precision. Answer keys are included for quick checking, and the problems spiral through different measurement contexts to build deep understanding.
The pack covers everything from basic ruler alignment to choosing between measuring tools, with plenty of practice for each skill level in your classroom.
Grab a Free Measurement Practice Sheet to Try
Want to see how differentiated measurement practice works? I’ll send you a free sample worksheet with problems from each level, plus my “Tool Selection Guide” that students can reference during measurement activities.
Frequently Asked Questions About Teaching Measurement
When should second graders start using rulers instead of non-standard units?
Most students are ready for rulers by October or November, after they’ve mastered counting to 100 and understand one-to-one correspondence. Start with large, clear rulers showing only inch marks before introducing more complex tools.
How do I help students choose the right measuring tool?
Create an anchor chart showing tool purposes: rulers for small objects, yardsticks for medium objects, measuring tapes for curved or very long objects. Practice with the same objects using different tools so students see efficiency differences.
Should second graders learn both metric and customary measurement?
Focus primarily on customary units (inches, feet) as required by CCSS.Math.Content.2.MD.A.1, but introduce centimeters for comparison. Students benefit from seeing both systems without needing mastery of conversions at this level.
How accurate should second grade measurements be?
Students should measure to the nearest whole unit (inch or centimeter) consistently. Don’t expect precision to half-units until late in the year, and focus more on proper tool use and alignment than exact measurements.
What’s the best way to assess measurement skills?
Use performance-based assessments where students actually measure objects and explain their tool choices. Written worksheets should supplement, not replace, hands-on measurement demonstrations that show true understanding.
Measurement skills build the foundation for so much future math learning. When students master tool selection and accurate measuring in second grade, they’re ready for area, perimeter, and data analysis in the years ahead.
What’s your biggest challenge when teaching measurement? Drop your email above for that free practice sheet, and let me know what measurement strategies work best in your classroom!