If your first graders are confused about why a pencil is “7 paper clips long” or keep leaving gaps between their measuring units, you’re not alone. Teaching length measurement with non-standard units is one of those foundational skills that seems simple but trips up many students.
Here’s what you’ll learn: five research-backed strategies to make length measurement click, how to spot and fix common misconceptions, and differentiation tips for every learner in your classroom.
Key Takeaway
Students master length measurement when they understand that units must be identical, lined up end-to-end with no gaps or overlaps, and counted systematically.
Why Length Measurement Matters in First Grade
Length measurement with non-standard units is a crucial stepping stone to understanding measurement concepts. CCSS.Math.Content.1.MD.A.2 specifically requires students to express length as whole numbers of length units by laying multiple copies end-to-end with no gaps or overlaps.
This standard typically appears in the spring semester, after students have solid number sense to 20 and understand counting principles. Research from the National Council of Teachers of Mathematics shows that students who master non-standard measurement in first grade perform 23% better on standardized measurement assessments in later grades.
The skill connects directly to future work with rulers, tape measures, and metric conversions. More importantly, it develops spatial reasoning and the critical concept that measurement is about iteration of identical units.
Looking for a ready-to-go resource? I put together a differentiated measurement pack with 106 problems across three levels — but first, the teaching strategies that make it work.
Common Length Measurement Misconceptions in First Grade
Understanding where students get stuck helps you address problems before they become ingrained habits.
Common Misconception: Students leave gaps between units or overlap them.
Why it happens: They focus on placing objects rather than understanding continuous length.
Quick fix: Use the “touching rule” — each unit must touch the next one.
Common Misconception: Students use different-sized objects as units (mixing paper clips and crayons).
Why it happens: They don’t understand that units must be identical for accurate measurement.
Quick fix: Start with identical objects like same-size blocks or paper clips.
Common Misconception: Students count the spaces between units instead of the units themselves.
Why it happens: Visual confusion about what’s being measured.
Quick fix: Have them touch each unit while counting: “One block, two blocks, three blocks.”
Common Misconception: Students start measuring from the wrong end or middle of an object.
Why it happens: Lack of understanding about measurement starting points.
Quick fix: Always mark the starting edge with tape or a finger.
5 Research-Backed Strategies for Teaching Length Measurement
Strategy 1: The “Human Chain” Introduction
Start with students’ own bodies as measuring units. This concrete approach helps them understand the concept of iteration before moving to manipulatives.
What you need:
- Masking tape
- Large floor space
- Objects to measure (desk, bookshelf, rug)
Steps:
- Have students lie down end-to-end along a classroom object
- Count how many “student-lengths” the object measures
- Discuss why students must touch (no gaps) and not overlap
- Try measuring the same object with different students to show why units must be identical
- Record findings: “The reading rug is 4 Emmas long”
Strategy 2: Paper Clip Measurement Mats
Provide structured practice with identical units on prepared measurement mats that show clear starting and ending points.
What you need:
- Laminated measurement mats with objects drawn on them
- Standard paper clips (all the same size)
- Recording sheets
Steps:
- Students place paper clips end-to-end along the drawn object
- Emphasize the “touching rule” — clips must touch but not overlap
- Count clips systematically from left to right
- Record the measurement: “The crayon is 5 paper clips long”
- Check work by having a partner re-measure
Strategy 3: Unit Block Building Measurement
Use unit blocks to measure classroom objects, emphasizing the physical act of laying units end-to-end.
What you need:
- Identical unit blocks (same size)
- Various classroom objects to measure
- Measurement recording chart
- Clipboards for recording
Steps:
- Choose an object and mark its starting edge
- Place first block at the starting edge
- Add blocks one at a time, ensuring each touches the previous block
- Stop when blocks reach the object’s end
- Count blocks and record measurement
- Repeat with different objects
Strategy 4: Measurement Estimation Game
Build number sense and measurement intuition through structured estimation activities before actual measuring.
What you need:
- Collection of classroom objects
- Estimation recording sheets
- Paper clips or unit blocks
- “Estimate/Measure/Compare” chart
Steps:
- Show students an object and the measuring unit
- Students write their estimate
- Measure together using proper technique
- Compare estimate to actual measurement
- Discuss: Was your estimate close? Too high? Too low?
- Use findings to improve next estimate
Strategy 5: “Fix the Mistake” Measurement
Present common measurement errors for students to identify and correct, building critical thinking about proper measurement technique.
What you need:
- Pre-arranged “mistake” setups with gaps or overlaps
- Correct measuring units
- Before/after recording sheets
Steps:
- Set up incorrect measurements (gaps, overlaps, mixed units)
- Students identify what’s wrong
- Discuss why the mistake makes measurement inaccurate
- Students fix the measurement properly
- Compare incorrect vs. correct measurements
- Record both results to see the difference
How to Differentiate Length Measurement for All Learners
For Students Who Need Extra Support
Start with fewer, larger objects and very clear visual guides. Use masking tape to mark starting points and provide measurement mats with thick black lines. Begin with measuring short objects (3-5 units) before progressing to longer ones. Pair struggling students with measurement buddies and allow extra time for hands-on exploration. Review counting skills to 10 before introducing measurement activities.
For On-Level Students
Students at grade level should measure objects requiring 5-15 units, practice with various non-standard units (paper clips, blocks, crayons), and begin comparing measurements of different objects. They can work independently with recording sheets and start making simple predictions before measuring. Introduce the vocabulary: length, measure, unit, longer, shorter.
For Students Ready for a Challenge
Advanced students can measure longer objects (up to 20 units), compare measurements using different units for the same object, and explore why different units give different numbers. Have them create measurement word problems, measure curved objects by laying string first, and begin discussing why we need standard units like inches and centimeters.
A Ready-to-Use Length Measurement Resource for Your Classroom
After teaching measurement for years, I know how time-consuming it is to create differentiated practice that truly meets every student’s needs. That’s why I developed this comprehensive measurement pack that takes the prep work off your plate.
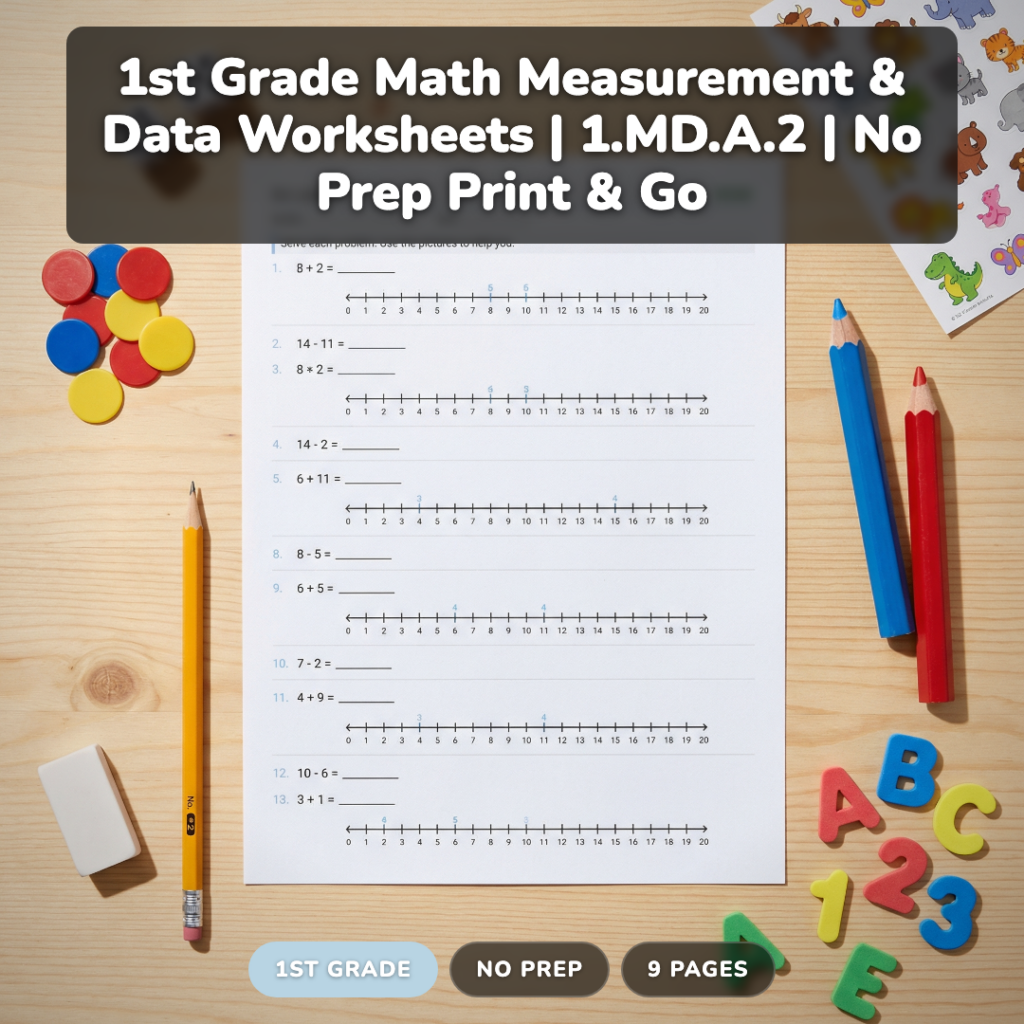
This resource includes 106 carefully crafted problems across three difficulty levels: 30 practice problems for students who need extra support, 40 on-level problems for grade-appropriate work, and 36 challenge problems for advanced learners. Each level focuses on CCSS.Math.Content.1.MD.A.2 while providing the right amount of scaffolding or extension.
What makes this different from generic worksheets is the thoughtful progression and visual clarity. Problems start with shorter objects and clear visual cues, then gradually increase in complexity. Answer keys are included for quick checking, and the no-prep format means you can print and use immediately.
The pack covers everything from basic paper clip measurement to challenging multi-step problems, saving you hours of prep time while ensuring every student gets appropriate practice.

Grab a Free Measurement Practice Sheet to Try
Want to see the quality before you buy? I’ll send you a free sample page that includes problems from each difficulty level, plus a quick reference guide for teaching measurement with no gaps or overlaps.
Frequently Asked Questions About Teaching Length Measurement
When should I introduce length measurement in first grade?
Most first grade curricula introduce non-standard measurement in the spring semester, typically March or April. Students should have solid counting skills to 20 and understand one-to-one correspondence before beginning measurement activities. This timing aligns with CCSS.Math.Content.1.MD.A.2 expectations.
What’s the best non-standard unit for beginners?
Paper clips work exceptionally well because they’re identical in size, easy to manipulate, and naturally link together. Unit blocks are also excellent. Avoid items like crayons or pencils that vary in size, as this creates confusion about the “identical units” concept.
How do I help students who keep leaving gaps between units?
Use the “touching rule” — each unit must touch the next one with no spaces. Practice with unit blocks that naturally connect, or use a ruler as a guide to show proper end-to-end placement. Physical demonstration and guided practice are essential.
Should students measure from left to right or right to left?
Consistency matters more than direction, but left-to-right aligns with reading patterns and future ruler use. Always mark the starting point clearly and have students begin from the same edge. This prevents confusion about where measurement begins.
How many measurement problems should first graders complete daily?
Quality over quantity is key. 3-5 measurement problems with discussion and checking work better than 10 rushed problems. Focus on proper technique and understanding rather than speed or volume of practice.
Building Strong Measurement Foundations
Teaching length measurement successfully comes down to helping students understand that measurement is about counting identical units placed end-to-end with no gaps or overlaps. When students master this concept with non-standard units, they’re ready for rulers, tape measures, and all future measurement work.
What’s your biggest challenge when teaching measurement? I’d love to hear about your classroom experiences in the comments below.
Don’t forget to grab your free measurement sample above — it’s a great way to try these strategies with your students right away.