If your 5th graders stare blankly when you mention cubic units, you’re not alone. Volume is one of those concepts that seems straightforward to adults but creates genuine confusion for students who are still developing spatial reasoning skills.
You need concrete strategies that help students visualize what “cubic units” actually means and why we count them to find volume. This post breaks down exactly how to teach CCSS.Math.Content.5.MD.C.4 with hands-on activities, visual models, and differentiated practice that meets every learner where they are.
Key Takeaway
Students master volume when they physically build with unit cubes before moving to formulas or abstract calculations.
Why Volume Matters in 5th Grade Math
Volume measurement represents a critical shift in mathematical thinking for 5th graders. Unlike area, which students can see on a flat surface, volume requires three-dimensional spatial reasoning that many 10-11 year olds are just beginning to develop.
The CCSS.Math.Content.5.MD.C.4 standard specifically focuses on measuring volumes by counting unit cubes, using cubic centimeters, cubic inches, cubic feet, and improvised units. This foundational skill prepares students for middle school geometry and real-world applications like calculating storage space or ingredient measurements in cooking.
Research from the National Council of Teachers of Mathematics shows that students who work extensively with physical manipulatives before moving to abstract formulas demonstrate 34% better retention of volume concepts. The concrete-to-abstract progression is especially crucial for volume because students must understand that cubic units fill three-dimensional space, not just cover a surface.
This standard typically appears in late spring, after students have mastered area concepts and basic multiplication facts. Students should be comfortable with rectangular arrays and understand that multiplication can represent repeated addition before tackling volume.
Looking for a ready-to-go resource? I put together a differentiated volume practice pack that covers everything below — but first, the teaching strategies that make it work.
Common Volume Misconceptions in 5th Grade
Common Misconception: Students count only the visible faces of unit cubes in a rectangular prism.
Why it happens: They apply area thinking to a 3D problem, counting what they can see rather than what fills the space.
Quick fix: Start with transparent containers so students can see cubes inside the shape.
Common Misconception: Students think volume and area are the same thing.
Why it happens: Both involve counting units, but students don’t distinguish between square units (flat) and cubic units (filling space).
Quick fix: Use different colored manipulatives for area (flat squares) and volume (3D cubes).
Common Misconception: Students believe bigger objects always have larger volume.
Why it happens: They confuse overall size with the amount of space inside an object.
Quick fix: Compare a large, thin box with a smaller, thicker box using actual unit cubes.
Common Misconception: Students count unit cubes by ones instead of using multiplication strategies.
Why it happens: They don’t see the connection between rectangular arrays and 3D structures.
Quick fix: Build layers explicitly, showing how each layer contains the same number of cubes.
4 Research-Backed Strategies for Teaching Volume
Strategy 1: Physical Cube Building with Layer Analysis
Students build rectangular prisms using actual unit cubes, then analyze the structure layer by layer to understand how volume relates to multiplication. This concrete approach helps students visualize why length × width × height works.
What you need:
- Unifix cubes or wooden unit cubes (at least 50 per pair)
- Recording sheets with grid paper
- Small boxes or containers for reference
Steps:
- Give pairs 24 unit cubes and ask them to build a rectangular prism
- Have students draw their prism from multiple angles on grid paper
- Ask: “How many cubes are in the bottom layer?” Students count and record
- Ask: “How many layers do you have?” Students identify and count layers
- Guide discovery: “So we have [X] cubes in each layer, and [Y] layers. How could we find the total quickly?”
- Students multiply layers × cubes per layer to verify their count
- Repeat with different arrangements of the same 24 cubes
Strategy 2: Container Estimation and Verification
Students estimate how many unit cubes will fit in real-world containers, then test their predictions by actually filling the containers. This connects abstract cubic units to practical measurement situations.
What you need:
- Small rectangular containers (shoe boxes, tissue boxes, storage containers)
- Unit cubes (wooden or plastic)
- Estimation recording sheets
- Rulers for measuring container dimensions
Steps:
- Show students a container and ask them to estimate how many unit cubes will fit
- Students record their estimate and explain their reasoning
- Have students measure the container’s length, width, and height using unit cubes as the measuring tool
- Students calculate predicted volume: length × width × height
- Fill the container with unit cubes to verify the calculation
- Compare the actual count with both the estimate and calculation
- Discuss any differences and what they reveal about the container’s shape
Strategy 3: Volume Comparison with Same Surface Area
Students build different rectangular prisms using the same number of unit cubes, then compare their volumes to understand that shape affects how much space an object occupies. This reinforces that volume measures interior space, not just exterior size.
What you need:
- Unit cubes (30 per group)
- Challenge cards with different prism dimensions
- Volume recording charts
- Optional: digital tools for creating virtual prisms
Steps:
- Give each group exactly 30 unit cubes
- Challenge them to build as many different rectangular prisms as possible
- For each prism, students record length, width, height, and total volume
- Students notice that all prisms have the same volume (30 cubic units) despite different shapes
- Introduce the concept: same volume, different surface area
- Have groups build the “tallest” and “flattest” prisms possible with their 30 cubes
- Discuss real-world applications: packaging efficiency, storage solutions
Strategy 4: Unit Cube Visualization Without Building
Students learn to “see” unit cubes in drawn rectangular prisms without physically building them. This develops spatial reasoning and prepares students for more abstract volume problems they’ll encounter in middle school.
What you need:
- Isometric dot paper
- Pre-drawn rectangular prisms of various sizes
- Colored pencils or markers
- Unit cube reference models
Steps:
- Show students a drawn rectangular prism and a physical unit cube for scale
- Ask: “How many unit cubes would fit along the length? Width? Height?”
- Students count the edges to determine dimensions
- Have students lightly shade or outline the “hidden” cubes they can’t see
- Students calculate volume using length × width × height
- Verify by having students draw and count individual cubes in one layer
- Progress to prisms where students must visualize all cubes without drawing them
How to Differentiate Volume Instruction for All Learners
For Students Who Need Extra Support
Begin with very small rectangular prisms (2×2×2 or 2×3×2) using physical cubes exclusively. These students benefit from building the same volume in multiple ways (like 12 cubes arranged as 2×2×3, 2×6×1, or 3×4×1) to reinforce that volume stays constant regardless of arrangement. Provide graphic organizers that break down the counting process: “Bottom layer has ___ cubes. We have ___ layers. Total volume = ___ cubic units.” Use transparent containers so students can see cubes inside the structure, and always allow students to verify calculations by counting individual cubes.
For On-Level Students
These students work with rectangular prisms up to 5×4×3 dimensions and begin connecting physical building to written calculations. They should practice both building with cubes and calculating volume using the formula, always checking their work by comparing both methods. Introduce different unit types (cubic inches vs. cubic feet) and help students understand when each is appropriate. Students at this level can handle word problems involving volume, such as determining how many boxes fit in a storage room or calculating the amount of soil needed for a garden bed.
For Students Ready for a Challenge
Advanced students explore non-rectangular prisms and compound shapes made of multiple rectangular prisms. They investigate questions like “Which arrangement of 36 cubes creates the smallest surface area?” and connect volume to real-world optimization problems. These students can work with fractional dimensions (like 2.5×3×4) and understand how to find volume when measurements aren’t whole numbers. Introduce connections to liquid measurement and help students convert between cubic units and capacity units (like cubic inches to fluid ounces).
A Ready-to-Use Volume Practice Resource for Your Classroom
After years of teaching CCSS.Math.Content.5.MD.C.4, I’ve learned that students need lots of varied practice to truly master volume concepts. The progression from concrete manipulation to abstract calculation requires carefully scaffolded problems that build confidence while challenging thinking.
That’s why I created a comprehensive volume practice pack with 132 problems across three differentiation levels. The Practice level focuses on small rectangular prisms with clear unit cube drawings, perfect for students who need to see the structure. The On-Level problems include word problems and mixed units, while the Challenge level introduces compound shapes and optimization thinking.
What makes this resource different is the intentional progression within each level. Problems start with visible unit cubes, move to outlined prisms, and finally present solid shapes where students must visualize the internal structure. Each page includes answer keys and teaching notes about common student errors to watch for.
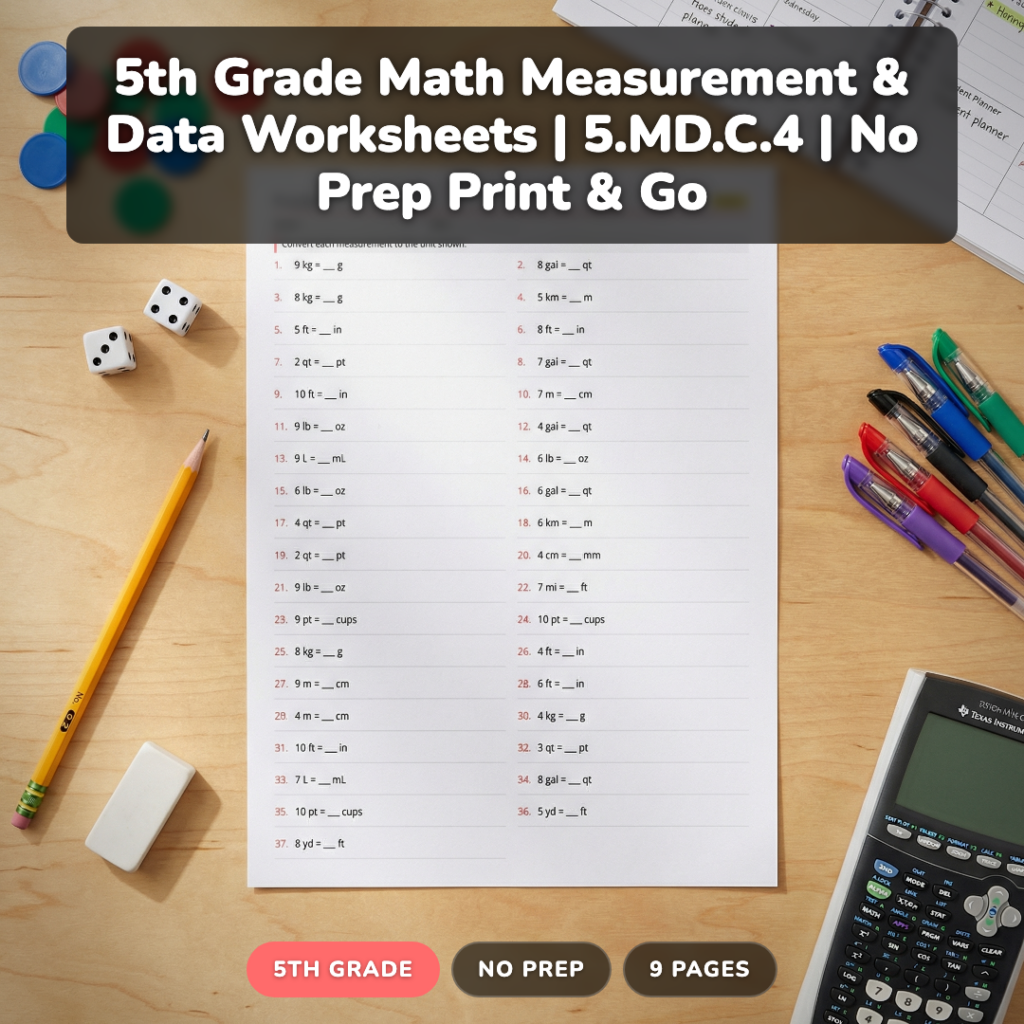
The pack includes 9 pages of differentiated practice covering counting unit cubes, calculating volume with formulas, and solving real-world volume problems. Everything is print-and-go with clear directions and complete answer keys.

Grab a Free Volume Practice Sheet to Try
Want to see how differentiated volume practice works? I’ll send you a free sample worksheet with problems from each level, plus teaching tips for introducing unit cubes to your students.
Frequently Asked Questions About Teaching Volume
When should I introduce the volume formula to 5th graders?
Introduce length × width × height only after students have extensively built with unit cubes and understand that volume measures the space inside a 3D shape. Most students need 3-4 weeks of hands-on building before the formula makes sense. CCSS.Math.Content.5.MD.C.4 emphasizes counting unit cubes first, formulas second.
What’s the difference between cubic units and square units?
Square units (like square inches) measure area on flat surfaces, while cubic units (like cubic inches) measure volume in three-dimensional space. Use different manipulatives: flat tiles for area, 3D cubes for volume. Students often confuse these because both involve counting units, but the units measure completely different things.
How do I help students who can’t visualize hidden unit cubes?
Start with transparent containers or wire frame models so students can see inside the shape. Build the same prism with physical cubes, then show the drawn version. Use systematic counting: “This layer has 6 cubes, and we have 4 layers, so 6 × 4 = 24 total cubes.” Spatial reasoning develops gradually through repeated practice.
Should 5th graders learn volume formulas for shapes other than rectangular prisms?
No, CCSS.Math.Content.5.MD.C.4 focuses specifically on rectangular prisms measured by counting unit cubes. Cylinders, pyramids, and other shapes appear in middle school geometry. Keep 5th grade instruction focused on understanding what volume means and how to measure it systematically using cubic units.
What real-world connections help students understand volume?
Use packaging (how many small boxes fit in a large box), cooking (measuring ingredients), and storage (organizing classroom supplies). Swimming pools, fish tanks, and moving boxes provide concrete examples. Always connect back to unit cubes: “Each small box is like one unit cube in the big box.”
Building Strong Volume Foundations
Teaching volume successfully comes down to giving students enough time with physical unit cubes before expecting them to visualize or calculate abstractly. The hands-on building phase isn’t just fun—it’s essential for developing the spatial reasoning that makes volume formulas meaningful.
What’s your biggest challenge when teaching volume to 5th graders? I’d love to hear about the strategies that work best in your classroom. And don’t forget to grab that free volume practice sheet to see how differentiated instruction can support all your learners.