If your third graders freeze when they see a perimeter problem or think they need to multiply length times width for every shape, you’re not alone. Teaching perimeter can feel like an uphill battle when students confuse it with area or struggle to understand what “distance around” really means.
You’ll walk away from this post with five research-backed strategies that help students master perimeter concepts, plus differentiation tips for every learner in your classroom.
Key Takeaway
Students master perimeter when they connect the concept to real-world experiences before moving to abstract calculations.
Why Perimeter Matters in Third Grade Math
Perimeter instruction in third grade builds the foundation for geometry and measurement concepts students will use throughout their mathematical careers. According to the National Council of Teachers of Mathematics, students who develop strong spatial reasoning skills in elementary grades show significantly better performance in algebra and advanced mathematics.
The CCSS.Math.Content.3.MD.D.8 standard specifically requires students to solve real-world and mathematical problems involving perimeters of polygons. This includes finding perimeter given side lengths, determining unknown side lengths, and exploring the relationship between perimeter and area through rectangles.
Research from the University of Chicago shows that students who engage with hands-on measurement activities demonstrate 23% better retention of geometric concepts compared to those who only work with abstract problems. The key is connecting the mathematical concept to physical experiences students can touch and manipulate.
Looking for a ready-to-go resource? I put together a differentiated perimeter practice pack with 132 problems across three levels — but first, the teaching strategies that make it work.
Common Perimeter Misconceptions in 3rd Grade
Common Misconception: Students multiply length times width to find perimeter.
Why it happens: They confuse perimeter with area formulas learned simultaneously.
Quick fix: Use the phrase “add around” for perimeter and “multiply inside” for area.
Common Misconception: Students think perimeter is always measured in square units.
Why it happens: They associate all measurement with area’s square units.
Quick fix: Emphasize that perimeter measures distance (linear units) while area measures space (square units).
Common Misconception: Students count unit squares along the edge instead of measuring the actual border.
Why it happens: Grid paper activities can blur the line between counting squares and measuring distance.
Quick fix: Have students trace the perimeter with their finger while counting to reinforce the “around” concept.
Common Misconception: Students assume all rectangles with the same perimeter have the same area.
Why it happens: Limited exposure to rectangles with varying dimensions but identical perimeters.
Quick fix: Build multiple rectangles with the same perimeter using manipulatives to show different areas.
5 Research-Backed Strategies for Teaching Perimeter
Strategy 1: Walking the Perimeter
Students physically walk around classroom objects and outdoor spaces to internalize what perimeter means before working with numbers. This kinesthetic approach helps students connect abstract mathematical concepts to concrete experiences.
What you need:
- Masking tape
- Measuring tools (rulers, measuring tapes)
- Recording sheets
- Various rectangular objects (desks, books, rugs)
Steps:
- Create a large rectangle on the floor using masking tape (start with 6 feet by 4 feet)
- Have students walk around the perimeter while counting their steps
- Measure each side with a measuring tape and record the lengths
- Add the four sides together to find the total distance around
- Repeat with different sized rectangles, comparing step counts to actual measurements
- Move to smaller classroom objects, having students trace around them with their finger
Strategy 2: String and Manipulative Exploration
Students use string to physically measure perimeter, then transition to counting unit blocks around shape edges. This bridges the gap between concrete understanding and numerical calculation.
What you need:
- Yarn or string cut into various lengths
- Unit cubes or linking cubes
- Shape cutouts (rectangles, squares, triangles)
- Scissors
- Recording sheets
Steps:
- Give each student a piece of string and a rectangular shape cutout
- Have them lay the string around the edge of the shape, marking where it completes the loop
- Cut the string at the mark and stretch it into a straight line
- Use unit cubes to measure the length of the string
- Compare this measurement to adding up the individual side lengths
- Repeat with different shapes, building the connection between “around” and “adding sides”
Strategy 3: Grid Paper Rectangle Building
Students construct rectangles with specific perimeters using grid paper, discovering that multiple rectangles can share the same perimeter while having different areas. This strategy directly addresses CCSS.Math.Content.3.MD.D.8 requirements.
What you need:
- Grid paper (1-inch squares work best)
- Colored pencils or crayons
- Recording charts for dimensions and areas
- Calculators (optional for checking)
Steps:
- Start with a perimeter of 12 units and challenge students to find all possible rectangles
- Have students draw and color each rectangle on grid paper
- Record the length, width, perimeter, and area for each rectangle in a chart
- Discuss patterns: Which rectangle has the largest area? The smallest?
- Repeat with different perimeters (16, 20, 24 units)
- Lead students to discover that squares maximize area for a given perimeter
Strategy 4: Real-World Problem Solving
Students solve authentic problems involving perimeter, such as fencing a garden or framing a picture. This strategy helps students see the practical applications of perimeter calculations.
What you need:
- Real-world scenario cards
- Measuring tools
- Graph paper for planning
- Calculators
- Sample materials (craft sticks for fencing, ribbon for framing)
Steps:
- Present a scenario: “The school wants to put a fence around the new garden. The garden is 8 feet long and 6 feet wide.”
- Have students identify what they need to find (total fencing needed = perimeter)
- Students draw the garden on graph paper and label dimensions
- Calculate perimeter using addition: 8 + 6 + 8 + 6 = 28 feet
- Extend the problem: “Fencing costs $3 per foot. How much will the fence cost?”
- Use craft sticks or other materials to build a scale model
Strategy 5: Interactive Perimeter Games
Students play structured games that reinforce perimeter concepts through repetition and peer interaction. Game-based learning increases engagement and helps students practice calculations in a low-pressure environment.
What you need:
- Perimeter task cards
- Dice or spinners
- Game boards with various polygons
- Dry erase boards and markers
- Timer
Steps:
- Create pairs and give each pair a set of perimeter task cards
- Player 1 draws a card and reads the problem aloud
- Both players solve the problem on their dry erase boards
- Players compare answers and discuss any differences
- Correct answer earns a point; first to 10 points wins
- Rotate cards to include finding unknown side lengths and comparing perimeters
How to Differentiate Perimeter Instruction for All Learners
For Students Who Need Extra Support
Begin with concrete manipulatives and real objects before introducing abstract problems. Use shapes with whole number side lengths and provide visual supports like number lines or hundreds charts. Focus on rectangles and squares initially, as these have predictable patterns. Offer sentence frames: “I need to add __ + __ + __ + __ to find the perimeter.” Review prerequisite skills like addition facts and measuring with standard units.
For On-Level Students
Students work with the full range of polygons specified in CCSS.Math.Content.3.MD.D.8, including rectangles, squares, and triangles. They solve problems involving unknown side lengths when given the perimeter and some dimensions. Provide opportunities to explore the relationship between perimeter and area through hands-on rectangle building. Students should work with both whole numbers and simple fractions in measurement contexts.
For Students Ready for a Challenge
Extend learning to irregular polygons and composite figures. Challenge students to design rectangles with specific area and perimeter constraints. Introduce optimization problems: “What rectangle with perimeter 24 has the largest area?” Connect to real-world applications involving cost calculations and material planning. Students can explore how perimeter changes when dimensions are doubled or halved, building foundations for proportional reasoning.
A Ready-to-Use Perimeter Resource for Your Classroom
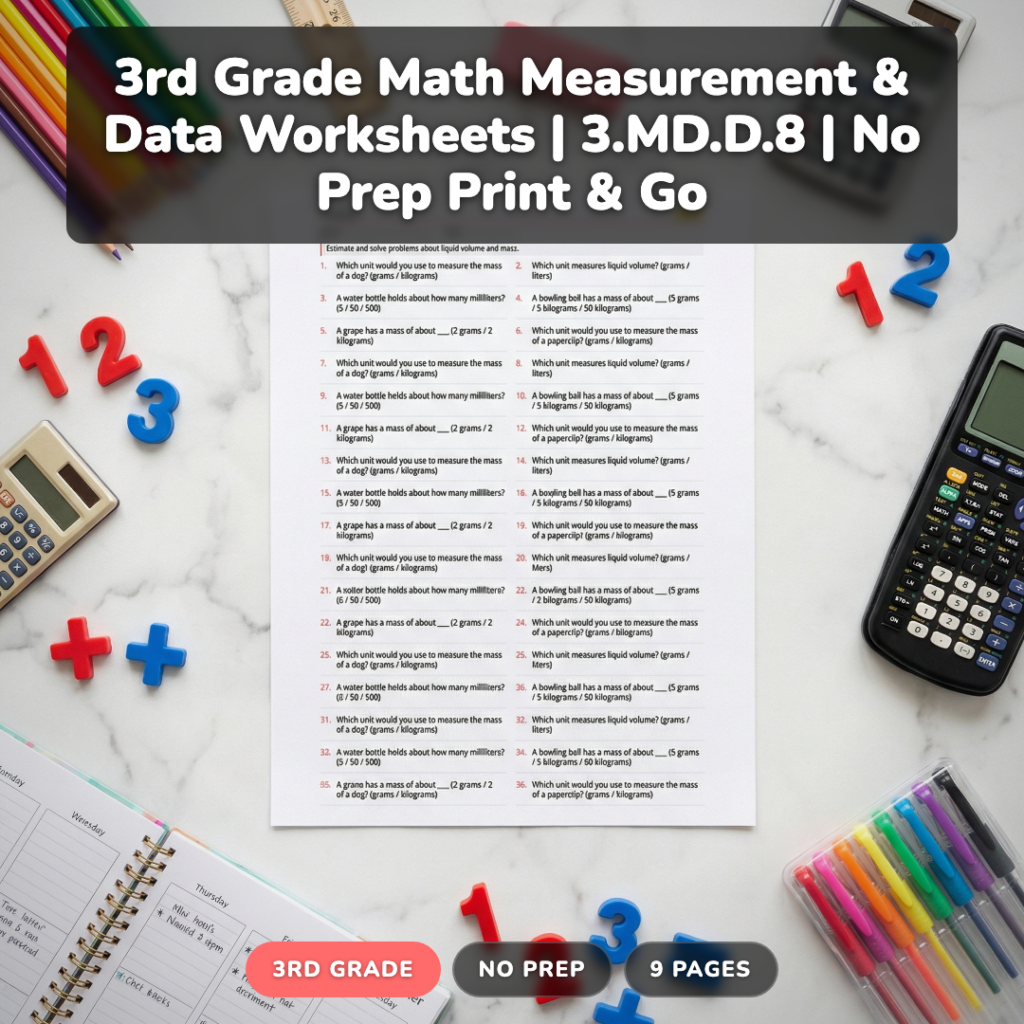
After years of creating perimeter activities from scratch, I developed a comprehensive worksheet collection that saves hours of prep time while providing exactly the right level of challenge for every student. This 9-page resource includes 132 differentiated problems across three levels: Practice (37 problems), On-Level (50 problems), and Challenge (45 problems).
What makes this resource different is the careful progression within each level. Practice problems start with simple rectangles and clear side length labels, while Challenge problems involve finding unknown sides and exploring perimeter-area relationships. Each level includes real-world contexts that help students see why perimeter matters beyond the classroom.

The resource includes answer keys for quick grading and can be used for independent practice, homework, or assessment. Students get immediate feedback on their understanding, and you get clear data on who needs additional support.
Grab a Free Perimeter Practice Sheet to Try
Want to see how these differentiated problems work in your classroom? I’ll send you a free sample worksheet with problems from each level, plus teaching tips for common perimeter misconceptions. Drop your email below and I’ll send it right over.
Frequently Asked Questions About Teaching Perimeter
When should I introduce perimeter in third grade?
Introduce perimeter after students have mastered basic addition facts and understand measurement with standard units. Most teachers find success introducing perimeter in the second quarter, after establishing strong number sense and measurement foundations. The CCSS.Math.Content.3.MD.D.8 standard builds on earlier measurement work from standards 3.MD.A and 3.MD.B.
How do I help students remember the difference between perimeter and area?
Use consistent language and hand motions: trace around the edge while saying “perimeter is around” and pat the inside while saying “area is inside.” Create anchor charts with visual cues and memory devices. Practice both concepts simultaneously so students can compare and contrast rather than learning them in isolation.
What manipulatives work best for teaching perimeter?
Unit cubes, linking cubes, and geoboards provide excellent hands-on experiences. String or yarn helps students physically measure the distance around shapes. Grid paper bridges concrete and abstract understanding. Avoid manipulatives that emphasize area (like pattern blocks filling space) when focusing on perimeter concepts.
How do I assess perimeter understanding effectively?
Use a mix of calculation problems, real-world applications, and conceptual questions. Ask students to explain their thinking: “How do you know this is perimeter and not area?” Include problems where students find unknown side lengths given the perimeter. Observe students during hands-on activities to assess their conceptual understanding beyond computational skills.
What are common prerequisite skills students need for perimeter?
Students need fluency with addition facts, understanding of measurement units (inches, feet, centimeters), and ability to identify and count sides of polygons. They should understand that rectangles have opposite sides of equal length and be comfortable using rulers and measuring tools. Review these skills before introducing perimeter calculations.
Teaching perimeter successfully comes down to connecting abstract mathematical concepts to concrete experiences students can touch and explore. When students understand that perimeter means “the distance around,” they’re ready to tackle any polygon with confidence.
What’s your go-to strategy for helping students master perimeter concepts? And don’t forget to grab your free sample worksheet above — it’s a great way to test these strategies in your own classroom.