If your third graders freeze when they see a rectangle with numbers on the sides, you’re not alone. Area is one of those concepts that seems simple to us but can feel completely abstract to 8-year-olds. You need concrete strategies that help students connect multiplication to the actual space inside shapes.
This post breaks down exactly how to teach area measurement using research-backed methods that work in real classrooms. You’ll get step-by-step strategies, common misconception fixes, and differentiation tips for every learner in your room.
Key Takeaway
Students master area when they move from concrete tile-counting to abstract multiplication through visual models and real-world connections.
Why Area Matters in Third Grade Math
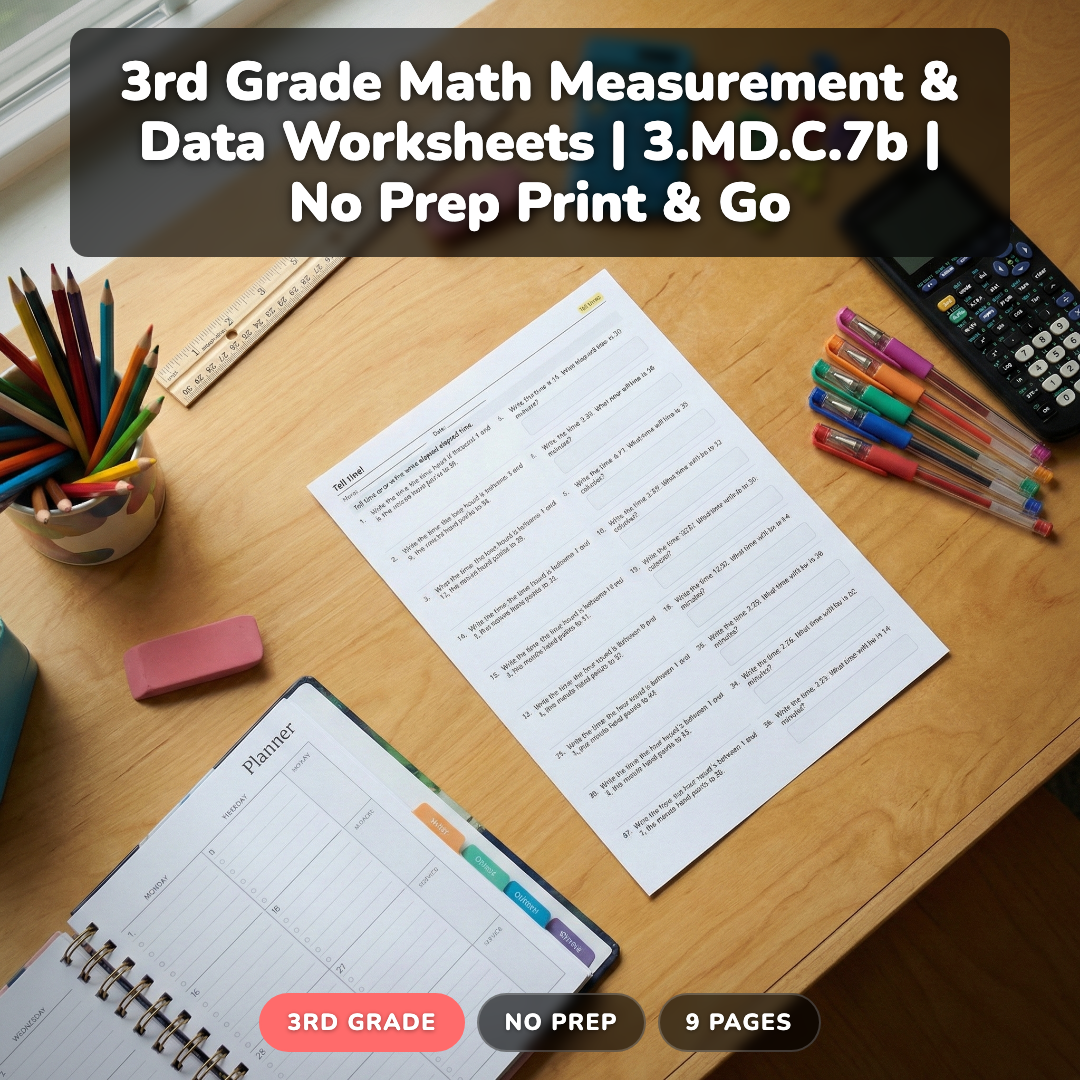
Area measurement sits at the intersection of geometry and multiplication, making it a crucial bridge concept in third grade. CCSS.Math.Content.3.MD.C.7b requires students to multiply side lengths to find areas of rectangles with whole-number side lengths, connecting abstract multiplication facts to visual, spatial reasoning.
Research from the National Council of Teachers of Mathematics shows that students who master area concepts through hands-on exploration score 23% higher on standardized geometry assessments. This skill appears in state tests as early as March, so most teachers introduce it after students have solid multiplication facts through 10×10, typically in January or February.
Area connects directly to future fraction work (4th grade), coordinate geometry (5th grade), and algebraic thinking. Students who struggle with area often have gaps in spatial reasoning or multiplication fluency that need addressing first.
Looking for a ready-to-go resource? I put together a differentiated area measurement pack that covers everything below — but first, the teaching strategies that make it work.
Common Area Misconceptions in Third Grade
Common Misconception: Students add the side lengths instead of multiplying them.
Why it happens: They confuse area with perimeter or think “length + width” from perimeter work.
Quick fix: Use different colored tiles for each dimension and count the total squares together.
Common Misconception: Students think area is always measured in regular units like “feet” instead of square units.
Why it happens: They haven’t connected that area measures two-dimensional space, not one-dimensional length.
Quick fix: Show unit squares explicitly and emphasize “square centimeters” or “square feet” in every problem.
Common Misconception: Students count unit squares incorrectly when shapes aren’t aligned to a grid.
Why it happens: They rely on visual counting rather than understanding the multiplication relationship.
Quick fix: Always start with grid-aligned rectangles before moving to abstract problems.
Common Misconception: Students think bigger numbers always mean bigger areas.
Why it happens: They focus on individual dimensions rather than the relationship between length and width.
Quick fix: Compare rectangles like 2×8 and 4×4 using actual tiles to show 16 = 16.
5 Research-Backed Strategies for Teaching Area
Strategy 1: Tile Building with Physical Manipulatives
Start with concrete experiences where students physically build rectangles using unit tiles. This strategy follows the Concrete-Representational-Abstract (CRA) model proven effective for math concept development.
What you need:
- 1-inch square tiles (at least 100 per pair)
- Recording sheets with rectangle outlines
- Rulers or measuring strips
Steps:
- Give students a rectangle outline (start with 3×4) and ask them to fill it completely with tiles
- Have them count tiles in one row, then count how many rows they have
- Record: “3 tiles in each row, 4 rows total, 3×4 = 12 square units”
- Repeat with different rectangles, always connecting rows × columns to length × width
- Challenge: Give dimensions without outlines and have students build first, then verify by counting
Strategy 2: Grid Paper Visualization with Color Coding
Bridge from concrete tiles to abstract thinking using grid paper where students can see and count individual unit squares while connecting to multiplication.
What you need:
- 1-centimeter grid paper
- Colored pencils or crayons
- Rectangles drawn on grid paper
Steps:
- Students outline a rectangle on grid paper (start with 5×3)
- Color the first row one color, count squares: “5 squares in this row”
- Color remaining rows a different color, count rows: “3 rows total”
- Write the multiplication: “5 squares × 3 rows = 15 square units”
- Practice with various rectangles, always using the color-coding method
- Gradually reduce scaffolding until students can visualize without coloring
Strategy 3: Real-World Measurement Projects
Connect area to authentic contexts that students encounter daily. This strategy addresses CCSS.Math.Content.3.MD.C.7b‘s emphasis on real-world problem solving.
What you need:
- Measuring tapes or rulers
- Clipboards and recording sheets
- Various rectangular objects around school
Steps:
- Start with classroom objects: book covers, desk tops, bulletin boards
- Students measure length and width in whole units (inches or feet work best)
- Record measurements and calculate area using multiplication
- Compare areas: “The bulletin board is 48 square feet, but the whiteboard is only 32 square feet”
- Solve problems like: “How many square tiles do we need to cover this table?”
- Create a classroom “Area Hall of Fame” with the biggest and smallest areas found
Strategy 4: Area Array Games with Partners
Use the connection between arrays and area to reinforce multiplication facts while building spatial reasoning through engaging partner activities.
What you need:
- Dice (regular 6-sided)
- Grid paper or dot paper
- Colored pencils
- Area recording sheets
Steps:
- Partner A rolls two dice to get dimensions (example: 4 and 6)
- Both partners draw a 4×6 rectangle on their grid paper
- Calculate area together: 4×6 = 24 square units
- Partner B rolls next, repeat process
- After 5 rounds, compare total areas: “Who covered more space?”
- Extension: Roll three dice, use two for a rectangle and one as a multiplier
Strategy 5: Problem-Solving with Visual Models
Develop mathematical reasoning by having students create visual models to solve area problems, emphasizing the connection between pictures and calculations.
What you need:
- Word problem cards
- Plain paper for drawing
- Rulers for neat rectangles
Steps:
- Present problems like: “Sarah’s garden is 7 feet long and 4 feet wide. How much space does she have for planting?”
- Students draw a rectangle and label dimensions
- Show their thinking: “7×4 = 28, so Sarah has 28 square feet”
- Include problems with multiple rectangles: “The kitchen is 8×6 and the dining room is 6×4. Which room is bigger?”
- Have students explain their reasoning to a partner using their visual models
How to Differentiate Area Instruction for All Learners
For Students Who Need Extra Support
Focus on building strong foundations with smaller numbers and concrete manipulatives. These students benefit from extended time with physical tiles and should master rectangles with dimensions 2-5 before moving to larger numbers. Provide multiplication fact charts and encourage skip-counting strategies. Use real objects they can touch and measure, like index cards or textbook covers. Pre-teach vocabulary like “square units,” “length,” and “width” with visual supports.
For On-Level Students
These students can work with rectangles up to 10×10 and should practice both calculation and problem-solving regularly. They can transition from concrete tiles to grid paper relatively quickly and should practice explaining their thinking orally. Include mixed practice with both area and perimeter problems to strengthen conceptual understanding. Encourage them to check their work by sketching rectangles and estimating reasonableness.
For Students Ready for a Challenge
Extend learning with composite figures made of multiple rectangles, larger dimensions (up to 12×15), and multi-step word problems. These students can explore the relationship between area and perimeter by finding different rectangles with the same area. Introduce square numbers as special cases and connect area to early fraction concepts like finding half the area of a rectangle. Challenge them to design rectangular gardens or rooms with specific area requirements.
A Ready-to-Use Area Measurement Resource for Your Classroom
Teaching area effectively requires a lot of differentiated practice problems, and creating them from scratch takes hours you don’t have. I’ve put together a comprehensive area measurement pack that includes 132 problems across three difficulty levels, so every student in your room gets appropriate practice.
The pack includes 37 practice problems for students building foundational skills, 50 on-level problems that align perfectly with CCSS.Math.Content.3.MD.C.7b, and 45 challenge problems for advanced learners. Each level includes visual models, word problems, and pure calculation practice. The problems progress logically from concrete examples to abstract thinking, and everything comes with complete answer keys.
What makes this different from generic worksheets is the careful scaffolding and real-world contexts that help students see why area matters. Students measure playgrounds, calculate carpet needed for rooms, and solve problems about garden planning — not just abstract rectangles with random numbers.
This no-prep resource saves you hours of planning while giving your students exactly the practice they need to master area measurement.
Grab a Free Area Practice Sheet to Try
Want to see the quality before you commit? I’ll send you a free sample page with 8 differentiated area problems that you can use tomorrow. Drop your email below and I’ll send it right over.
Frequently Asked Questions About Teaching Area
When should I introduce area in third grade?
Introduce area after students have solid multiplication facts through 10×10, typically in January or February. Students need fluent multiplication to focus on the conceptual understanding rather than struggling with basic facts during area problems.
How do I help students remember to use square units?
Always use unit squares in initial instruction and emphasize “square” units in every answer. Have students physically touch or point to unit squares while saying “square centimeters” or “square feet” until it becomes automatic.
What’s the difference between teaching area and perimeter?
Area measures the space inside a shape using multiplication (length × width), while perimeter measures the distance around a shape using addition. Teach them separately first, then compare with the same rectangles to highlight differences.
Should students memorize the area formula?
Focus on understanding before memorization. Students should understand that area equals length times width because they’re counting rows and columns of unit squares. The formula becomes meaningful after conceptual understanding, not before.
How do I connect area to real life for third graders?
Use contexts students understand: measuring playground space, calculating how many tiles fit on a floor, or figuring out carpet needed for a bedroom. Start with classroom objects they can actually measure and touch.
Teaching area measurement successfully means moving students from concrete experiences to abstract understanding while keeping the connections visible. Start with tiles, progress through visual models, and always connect back to real-world applications that matter to 8-year-olds.
What’s your biggest challenge when teaching area measurement? The free practice sheet above gives you a great starting point to try these strategies with your students.