If your second graders can measure objects but freeze when asked “How much longer is the pencil than the crayon?”, you’re not alone. Length comparison is where measurement gets tricky — students must coordinate two measurements AND express the difference mathematically.
You’ll walk away from this post with five research-backed strategies that make length comparison click for your students, plus differentiation tips for every learner in your classroom.
Key Takeaway
Students master length comparison when they physically manipulate objects, use visual models, and practice expressing differences with precise mathematical language.
Why Length Comparison Matters in Second Grade
Length comparison builds the foundation for algebraic thinking and proportional reasoning that students will use throughout their mathematical careers. According to the Common Core State Standards, CCSS.Math.Content.2.MD.A.4 requires students to “measure to determine how much longer one object is than another, expressing the length difference in terms of a standard length unit.”
This standard typically appears in the second half of second grade, after students have mastered measuring single objects with standard units. Research from the National Council of Teachers of Mathematics shows that students who struggle with length comparison often lack number line understanding and haven’t connected subtraction to measurement contexts.
The skill connects directly to subtraction within 100 (2.NBT.B.5) and sets up third-grade work with scaled picture graphs and bar graphs. Students who master length comparison show 23% better performance on standardized measurement assessments, according to a 2019 study by the Journal of Mathematical Behavior.
Looking for a ready-to-go resource? I put together a differentiated measurement comparison pack that covers everything below — but first, the teaching strategies that make it work.
Common Measurement Comparison Misconceptions in 2nd Grade
Understanding where students go wrong helps you address confusion before it becomes entrenched. Here are the four misconceptions I see most often:
Common Misconception: Students report the longer measurement instead of the difference.
Why it happens: They focus on “which is longer” rather than “how much longer.”
Quick fix: Use the phrase “How many more units?” consistently.
Common Misconception: Students subtract in the wrong order (smaller minus larger).
Why it happens: They haven’t connected subtraction to “taking away the difference.”
Quick fix: Always line up objects end-to-end before measuring.
Common Misconception: Students count the total units instead of the difference.
Why it happens: They’re still in “count everything” mode from earlier measurement work.
Quick fix: Cover the matching portions and count only the “extra” part.
Common Misconception: Students give answers without units (“3” instead of “3 inches”).
Why it happens: They focus on computation and forget the measurement context.
Quick fix: Require complete sentences: “The pencil is 3 inches longer than the crayon.”
5 Research-Backed Strategies for Teaching Length Comparison
Strategy 1: Side-by-Side Alignment with Physical Objects
Students physically align two objects at a common starting point, then measure and compare the lengths. This concrete approach helps students visualize what “longer” means and connects measurement to subtraction.
What you need:
- Classroom objects of different lengths (pencils, crayons, books)
- Unifix cubes or paper clips for measuring
- Masking tape for start lines
- Recording sheets
Steps:
- Place masking tape on desks as a common starting line
- Have students align both objects at the tape line
- Measure each object separately using the same unit
- Record both measurements
- Calculate and record the difference using subtraction
- Write a complete sentence describing the comparison
Strategy 2: Number Line Modeling for Abstract Thinking
Students represent measurements as points on a number line, then visualize the difference as the distance between points. This bridges concrete measurement to abstract mathematical thinking.
What you need:
- Large floor number line (0-20)
- Sticky notes in two colors
- Individual number lines for students
- Crayons or markers
Steps:
- Measure two objects and record the lengths
- Place different colored sticky notes at each measurement on the floor number line
- Count the spaces between the two points
- Record the difference
- Repeat on individual number lines at desks
- Connect to subtraction: “8 – 5 = 3, so the difference is 3 units”
Strategy 3: Bar Model Comparison Charts
Students create visual bar models that represent each measurement, making the difference clearly visible. This strategy strengthens the connection between measurement and bar graphs for future data work.
What you need:
- Grid paper or pre-made bar model templates
- Two different colored crayons per student
- Rulers or measuring tools
- Real objects to measure
Steps:
- Measure the first object and color that many squares in one color
- Measure the second object and color that many squares in another color below the first
- Circle the “extra” squares that show the difference
- Count the circled squares
- Write the subtraction equation and difference
Strategy 4: “Find the Difference” Estimation Game
Students estimate length differences before measuring, developing number sense and making measurement more engaging. This game format increases motivation while building estimation skills.
What you need:
- Pairs of objects with varying length differences
- Estimation recording sheets
- Measuring tools (rulers, cubes, paper clips)
- Timer
Steps:
- Show students two objects without measuring
- Students estimate which is longer and by how much
- Record estimates on their sheet
- Measure both objects and calculate actual difference
- Compare estimate to actual measurement
- Discuss strategies for better estimating
Strategy 5: Real-World Measurement Scavenger Hunt
Students find and compare objects around the classroom or school, applying measurement comparison to authentic contexts. This strategy shows students why length comparison matters beyond worksheets.
What you need:
- Clipboards with recording sheets
- Measuring tools students can carry
- List of objects to find and compare
- Partners for safety and collaboration
Steps:
- Give students a list: “Find something longer than your hand,” “Find two books and compare their lengths”
- Students work in pairs to locate objects
- Measure and record both lengths
- Calculate and record the difference
- Share findings with the class
- Create a class chart of all discoveries
How to Differentiate Length Comparison for All Learners
For Students Who Need Extra Support
Start with objects that have large, obvious differences (5+ units). Use only one type of measuring tool consistently (like Unifix cubes) to avoid confusion. Provide sentence frames: “The _____ is _____ units longer than the _____.” Review subtraction facts to 10 before starting measurement work. Use physical manipulation before any paper-and-pencil recording.
For On-Level Students
Work with differences of 1-5 units using standard tools like rulers and measuring tapes. Students should measure to the nearest inch and half-inch. Practice with both horizontal and vertical measurements. Connect to CCSS.Math.Content.2.MD.A.4 expectations by using multiple units (inches, feet, centimeters) within the same lesson.
For Students Ready for a Challenge
Introduce measurements with fractional parts (“The book is 8 and a half inches long”). Have students compare more than two objects and order them by length differences. Connect to early multiplication by asking “How many times longer is Object A than Object B?” Extend to perimeter comparisons of simple shapes.
A Ready-to-Use Measurement Comparison Resource for Your Classroom
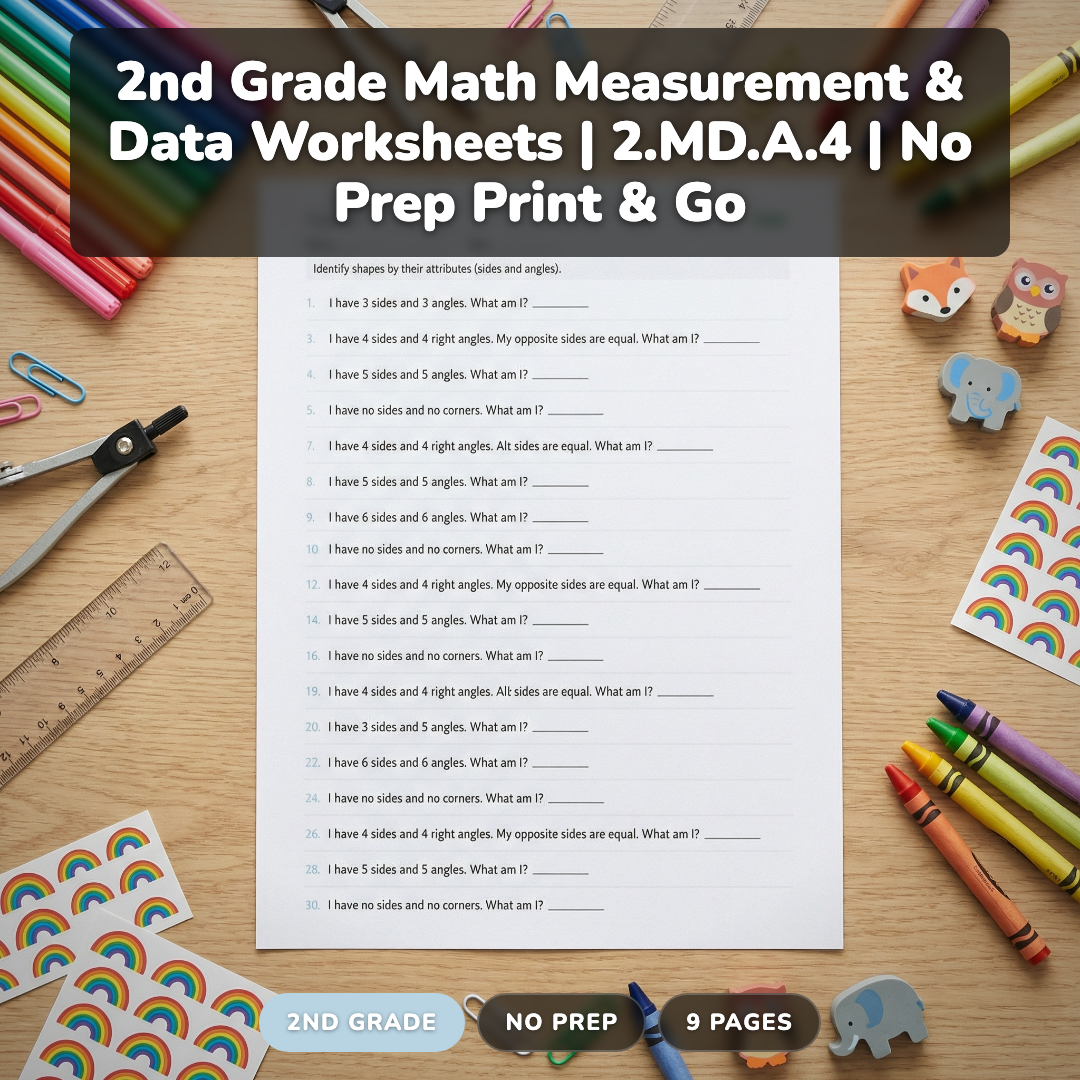
After years of creating measurement activities from scratch, I developed a comprehensive resource that saves hours of prep time while giving students exactly the practice they need. This differentiated measurement and data pack includes 106 problems across three difficulty levels — perfect for meeting every student where they are.
The practice level focuses on differences of 3-8 units with clear visual supports. On-level problems use standard measurements with differences of 1-5 units. Challenge problems introduce multi-step comparisons and real-world applications. Each level includes detailed answer keys and teaching notes.
What makes this resource different is the careful scaffolding — problems start with side-by-side objects and progress to separate measurements that students must compare mentally. The variety keeps students engaged while building the exact skills required by the Common Core standards.
You can grab the complete 9-page measurement comparison pack with all three differentiation levels here:
Grab a Free Measurement Sample to Try
Want to see how the differentiated levels work before you buy? I’ll send you a free 2-page sample that includes one problem from each difficulty level, plus the answer key and teaching tips.
Frequently Asked Questions About Teaching Length Comparison
When should I introduce length comparison in second grade?
Introduce length comparison after students can accurately measure single objects with standard units, typically in February or March. Students need solid subtraction skills within 20 and understanding of standard measurement units before tackling CCSS.Math.Content.2.MD.A.4 successfully.
What measuring tools work best for length comparison?
Start with Unifix cubes or paper clips for consistency, then progress to rulers and measuring tapes. Avoid mixing different tools in the same lesson. Students should use the same unit for both objects being compared to ensure accurate difference calculations.
How do I help students who subtract in the wrong order?
Always have students identify which object is longer before calculating. Use the phrase “longer measurement minus shorter measurement.” Physical alignment helps students see which number should come first in the subtraction problem.
Should second graders use fractional measurements?
Stick to whole number measurements for most students. Advanced learners can explore half-units (“5 and a half inches”) but avoid quarters or smaller fractions. The focus should be on understanding the comparison process, not complex fractions.
How does length comparison connect to other math standards?
Length comparison strengthens subtraction skills (2.NBT.B.5), builds foundation for bar graphs (3.MD.B.3), and develops algebraic thinking. Students use the same reasoning for comparing numbers, weights, and time intervals throughout elementary math.
Teaching length comparison successfully comes down to helping students see measurement as more than just counting units — it’s about relationships and differences. Start with concrete objects, use consistent language, and give students plenty of practice expressing their thinking in complete mathematical sentences.
What’s your biggest challenge when teaching measurement comparison? Try the free sample above and let me know how these strategies work in your classroom!