If your second graders look confused when you hand them a ruler and ask them to measure the same object with different units, you’re not alone. Teaching students that the same object can have different measurements depending on the unit used is one of the trickiest concepts in 2nd grade math. But with the right strategies, your students will master this foundational skill and understand why measurement matters.
Key Takeaway
Students learn measurement best through hands-on comparison activities that let them discover why smaller units create bigger numbers.
Why Teaching Different Measurement Units Matters in 2nd Grade
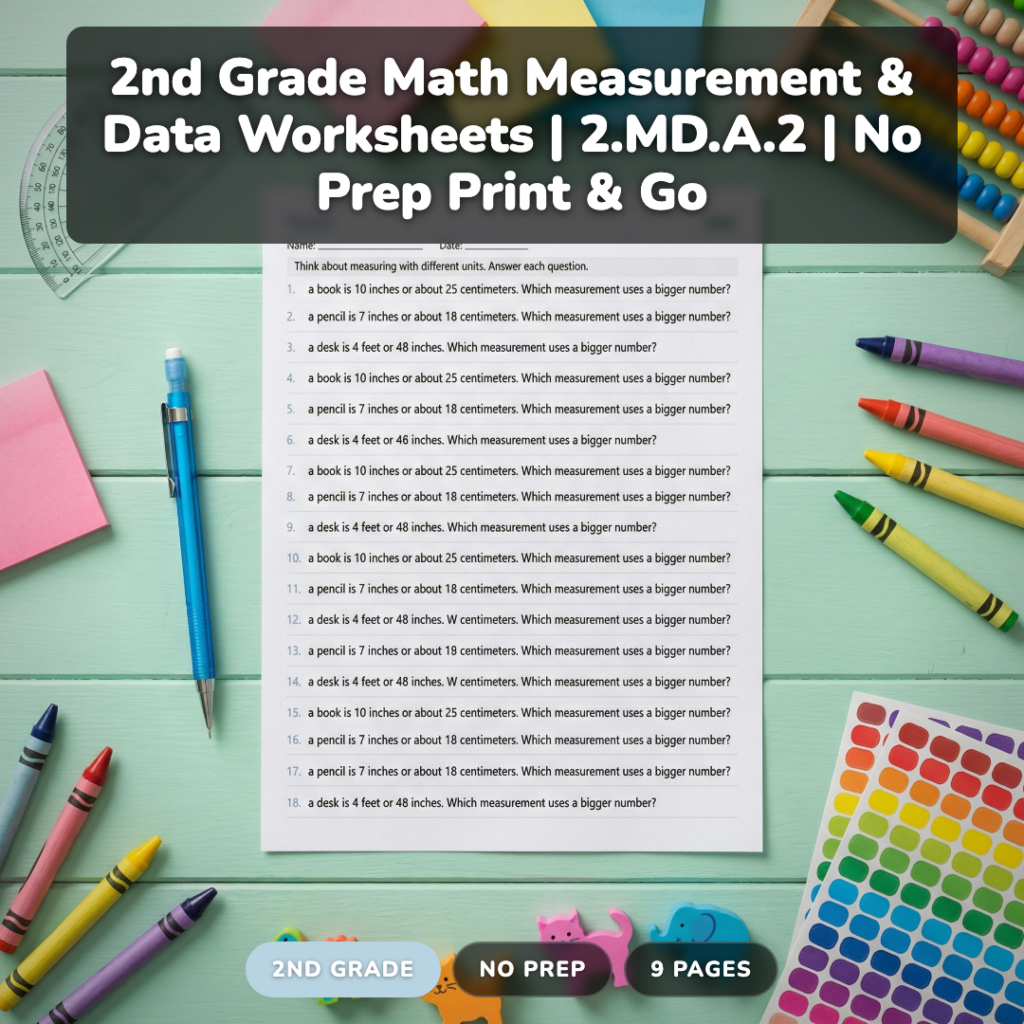
The CCSS.Math.Content.2.MD.A.2 standard asks students to measure objects twice using different length units and describe how the measurements relate to unit size. This isn’t just about using rulers — it’s about building number sense and logical thinking that students will use throughout their mathematical journey.
Research from the National Council of Teachers of Mathematics shows that students who master measurement concepts in elementary grades perform 23% better on standardized math assessments in middle school. The key is helping students understand the inverse relationship: smaller units mean larger numbers, and larger units mean smaller numbers.
This standard typically appears in the spring semester, after students have solid counting skills and basic addition/subtraction fluency. You’ll want to introduce it after students understand standard and non-standard units separately, usually around March or April.
Looking for a ready-to-go resource? I put together a differentiated measurement pack that covers everything below — but first, the teaching strategies that make it work.
Common Measurement Misconceptions in 2nd Grade
Common Misconception: Students think bigger units should give bigger numbers.
Why it happens: In their experience, “bigger” usually means “more.”
Quick fix: Use the pizza slice analogy — fewer big slices or more small slices make the same pizza.
Common Misconception: Students count the tick marks instead of the spaces between them.
Why it happens: They focus on visible marks rather than understanding what they’re measuring.
Quick fix: Start with large, clear units like paper clips before moving to rulers.
Common Misconception: Students think the measurement changes because the object changed.
Why it happens: They don’t yet understand that measurement describes a property of the object.
Quick fix: Use the same familiar object (like their desk) for multiple measurement activities.
Common Misconception: Students start measuring from 1 instead of 0 on a ruler.
Why it happens: They confuse counting objects with measuring length.
Quick fix: Cover the numbers on rulers initially and focus on counting units.
5 Research-Backed Strategies for Teaching Measurement with Different Units
Strategy 1: The Great Pencil Investigation
Start with something every student has — their pencil. This concrete approach helps students discover the inverse relationship between unit size and measurement numbers through direct comparison.
What you need:
- Student pencils
- Paper clips (large and small)
- Unifix cubes
- Recording sheet
Steps:
- Have students measure their pencil using large paper clips, counting carefully
- Record the number (usually 4-6 paper clips)
- Measure the same pencil using small paper clips
- Record the new number (usually 7-10 small paper clips)
- Discuss: “Why did we get different numbers for the same pencil?”
- Let students explain their thinking before introducing the concept
Strategy 2: Human Unit Measurement Walk
Transform your students into measuring tools. This kinesthetic approach makes abstract concepts concrete and memorable while building classroom community.
What you need:
- Masking tape
- Chart paper
- Markers
- Measuring worksheet
Steps:
- Create a straight line on the floor with masking tape (about 10 feet long)
- Have students measure the line using their foot-steps (heel to toe)
- Record each student’s measurement on chart paper
- Repeat using hand-spans instead of feet
- Compare results: “Why did Sarah get 8 feet but Tommy got 10?”
- Connect to standard units: “This is why we need rulers that are the same for everyone”
Strategy 3: The Shrinking and Growing Units Game
Use manipulatives to create a visual demonstration that students can touch and move. This strategy builds understanding through repeated practice with immediate feedback.
What you need:
- Connecting cubes in two colors
- Various classroom objects (books, erasers, markers)
- Recording chart
- Timer
Steps:
- Create “big units” by connecting 3 cubes of one color
- Create “small units” using single cubes of another color
- Students work in pairs to measure the same object both ways
- Fill in a comparison chart: Object | Big Units | Small Units
- After 3-4 objects, ask: “What pattern do you notice?”
- Students share discoveries with the class
Strategy 4: Measurement Detective Stories
Frame measurement as problem-solving to engage students’ natural curiosity. This narrative approach helps students remember the concept by connecting it to a story.
What you need:
- Mystery object in a box
- Various measuring tools
- “Detective notebooks” (paper)
- Magnifying glasses (optional but fun)
Steps:
- Present a “mystery”: “Detective Smith measured this box and got 6 units, but Detective Jones got 12 units. Who’s right?”
- Students become detectives and investigate using different sized units
- They record their findings in detective notebooks
- Reveal that both detectives were right — they just used different units
- Students write their own measurement mysteries for classmates to solve
Strategy 5: Digital Measurement Lab
Use technology to reinforce concepts with immediate visual feedback. This strategy works especially well for students who learn through visual and auditory channels.
What you need:
- Tablets or computers
- Virtual measurement tools (apps or websites)
- Comparison worksheet
- Headphones
Steps:
- Students use digital tools to measure virtual objects with different units
- Screenshot or record measurements for comparison
- Create digital presentations showing their discoveries
- Share findings with the class using the interactive whiteboard
- Discuss how digital measurements follow the same rules as physical ones
How to Differentiate Measurement for All Learners
For Students Who Need Extra Support
Start with non-standard units that are very different in size — think paper clips versus crayons rather than small versus large paper clips. Use concrete objects they can manipulate before moving to any worksheets. Provide visual anchor charts showing “small unit = big number” with pictures. Focus on just two measurements per object initially, and celebrate when they notice any pattern, even if they can’t articulate it perfectly yet.
For On-Level Students
These students can handle the full CCSS.Math.Content.2.MD.A.2 expectation of measuring with different units and describing the relationship. They can work with slightly more similar units (large versus small paper clips) and begin using simple rulers. Encourage them to predict which measurement will be larger before measuring, building their logical reasoning skills.
For Students Ready for a Challenge
Advanced students can explore measuring with three different units and ranking them from smallest to largest measurement. Introduce early concepts about standard units by comparing their non-standard measurements to inches or centimeters. Have them create measurement challenges for classmates and explain their thinking using mathematical vocabulary like “inverse relationship.”
A Ready-to-Use Measurement Resource for Your Classroom
After years of creating measurement activities from scratch, I developed a comprehensive resource that saves hours of prep time while giving students exactly the practice they need. This differentiated measurement pack includes 106 problems across three difficulty levels, so every student in your class gets appropriate practice with the same core concept.
The Practice level focuses on very different units with clear visual supports. The On-Level section matches grade-level expectations with moderately different units. The Challenge level pushes students to think critically about measurement relationships and make predictions. Each level includes answer keys and can be used for centers, homework, or assessment.

What makes this resource special is the careful progression from concrete to abstract thinking, just like the strategies above. Students start with familiar objects and move toward more complex measurement scenarios.
Grab a Free Measurement Sample to Try
Want to see how differentiated measurement practice works in your classroom? I’ll send you a free sample that includes one worksheet from each level plus an answer key. Perfect for testing out the format before you buy the full set.
Frequently Asked Questions About Teaching Measurement with Different Units
When should I introduce rulers after teaching non-standard units?
Wait until students confidently understand that different units give different numbers for the same object. This usually takes 3-4 weeks of hands-on practice. Start with large, clear ruler markings and cover the numbers initially to focus on counting units rather than reading numerals.
How do I help students who keep getting confused about which measurement should be bigger?
Use the “pizza slice” analogy consistently. Show them that you need more small pizza slices or fewer big pizza slices to make the same pizza. Practice with very different sized units first (paper clips vs. crayons) before moving to similar sizes.
What’s the most common mistake students make when measuring with different units?
Students often count the marks on a ruler instead of the spaces between them. Start with physical objects like paper clips where they can see the actual units clearly. When you introduce rulers, use ones with thick, clear unit markings and cover the numbers initially.
How does this standard connect to what students learn in 3rd grade?
Second grade measurement with different units builds foundation for 3rd grade work with standard units like inches, feet, and centimeters (CCSS.Math.Content.3.MD.B.4). Students who master the inverse relationship concept in 2nd grade easily understand why 12 inches equals 1 foot.
Should I teach metric and customary units together in 2nd grade?
Focus on the concept first using non-standard units, then introduce one standard system. Most US curricula emphasize customary units (inches, feet) in 2nd grade, saving metric units for 3rd grade when students have stronger number sense and can handle the base-10 relationships.
Teaching measurement with different units doesn’t have to be overwhelming when you focus on hands-on discovery and give students time to notice patterns themselves. The key is helping them see that the object stays the same — only our way of describing it changes.
What’s your favorite way to help students understand why smaller units create bigger numbers? Drop your email above to get the free measurement sample, and let me know what works best in your classroom!