If your third graders think area means “the space inside a shape” but can’t actually measure it, you’re not alone. Teaching area measurement goes beyond definitions — students need to understand area as a measurable attribute and develop strategies for finding it accurately.
Key Takeaway
Area instruction works best when students progress from covering shapes with objects to understanding square units as the foundation of area measurement.
Why Area Measurement Matters in Third Grade
Area measurement sits at the intersection of geometry and measurement, making it a crucial skill in CCSS.Math.Content.3.MD.C.5. This standard requires students to recognize area as an attribute of plane figures and understand concepts of area measurement — not just calculate it.
Third grade is when students transition from informal comparisons (“this shape is bigger”) to formal measurement using square units. Research from the National Council of Teachers of Mathematics shows that students who master area concepts in elementary grades perform 23% better on geometry assessments in middle school.
Area measurement typically appears in your curriculum during the spring semester, after students have solid foundations in multiplication and understanding of geometric shapes. It connects directly to future work with perimeter, volume, and algebraic thinking.
Looking for a ready-to-go resource? I put together a differentiated area measurement pack that covers everything below — but first, the teaching strategies that make it work.
Common Area Misconceptions in 3rd Grade
Common Misconception: Students think area and perimeter are the same thing.
Why it happens: Both involve “going around” or “measuring” a shape, creating confusion.
Quick fix: Use different colors — blue for “inside” (area) and red for “around the edge” (perimeter).
Common Misconception: Students count partial squares as whole units.
Why it happens: They see any square that touches the shape and count it fully.
Quick fix: Start with shapes that align perfectly to grid lines before introducing partial squares.
Common Misconception: Students think bigger shapes always have larger areas.
Why it happens: Visual size doesn’t always correlate with measurable area.
Quick fix: Compare a long, thin rectangle with a compact square of the same area.
Common Misconception: Students believe area must be calculated with length × width.
Why it happens: They skip the conceptual understanding and jump to the formula.
Quick fix: Emphasize counting square units before introducing any formulas.
5 Research-Backed Strategies for Teaching Area Measurement
Strategy 1: Physical Coverage with Square Tiles
Students physically cover shapes with square tiles to build the foundational understanding that area equals the number of square units needed to cover a surface completely.
What you need:
- 1-inch square tiles (foam or plastic)
- Outlined shapes on paper
- Recording sheets
Steps:
- Give each student a shape outline and 20-30 square tiles
- Have them cover the shape completely with no gaps or overlaps
- Count the tiles together as a class
- Record: “This rectangle has an area of 12 square units”
- Repeat with different shapes, always emphasizing “square units”
Strategy 2: Grid Paper Counting
Students count squares on grid paper to transition from physical manipulation to visual representation of area measurement.
What you need:
- 1-inch grid paper
- Colored pencils
- Pre-drawn shapes on grids
Steps:
- Draw simple rectangles on grid paper
- Have students color each square inside the shape
- Count colored squares systematically (row by row)
- Write the area using proper units: “8 square units”
- Progress to shapes that don’t align perfectly with the grid
Strategy 3: Area Comparison Games
Students compare areas of different shapes to develop number sense about area measurement and reinforce that area is a measurable attribute.
What you need:
- Shape cards with different areas
- Grid backgrounds
- “Greater than/Less than” recording sheets
Steps:
- Students draw two shape cards
- Count the area of each shape
- Compare using >, <, or = symbols
- Record: “Shape A: 15 square units > Shape B: 12 square units”
- Play for 10 rounds, checking answers with a partner
Strategy 4: Real-World Area Estimation
Students estimate and measure areas of classroom objects to connect area measurement to practical applications and build spatial reasoning.
What you need:
- Post-it notes (as square units)
- Classroom objects with flat surfaces
- Estimation recording sheets
Steps:
- Students estimate how many Post-it notes will cover their desk
- Record their estimate
- Cover the surface with Post-its, counting carefully
- Compare estimate to actual measurement
- Discuss why estimates were close or far off
Strategy 5: Area Pattern Recognition
Students explore how area changes when dimensions change, building foundation skills for understanding area relationships and preparing for multiplication connections.
What you need:
- Square tiles or grid paper
- Pattern recording charts
- Calculators (optional)
Steps:
- Build a 2×3 rectangle and find its area (6 square units)
- Build a 2×4 rectangle and find its area (8 square units)
- Continue the pattern: 2×5, 2×6, 2×7
- Record areas in a table and look for patterns
- Predict the area of a 2×10 rectangle before building
How to Differentiate Area Measurement for All Learners
For Students Who Need Extra Support
Start with concrete manipulation using large square tiles on small shapes (3-8 square units). Focus on one-to-one correspondence between tiles and squares. Use shapes that align perfectly with grid lines. Provide sentence frames: “This shape has an area of ___ square units.” Review counting skills and ensure students can identify squares versus other shapes.
For On-Level Students
Students work with rectangles up to 10×10 on grid paper, counting systematically by rows or columns. Introduce comparing areas using inequality symbols. Practice estimating before measuring. Connect to CCSS.Math.Content.3.MD.C.5 expectations by recognizing area as an attribute that can be measured and compared across different shapes.
For Students Ready for a Challenge
Explore irregular shapes and partial squares on grids. Estimate areas of curved shapes by counting whole and partial squares. Investigate how area stays constant when shapes are rearranged (conservation of area). Connect area measurement to real-world applications like gardening plots or room layouts. Begin exploring the relationship between area and multiplication.
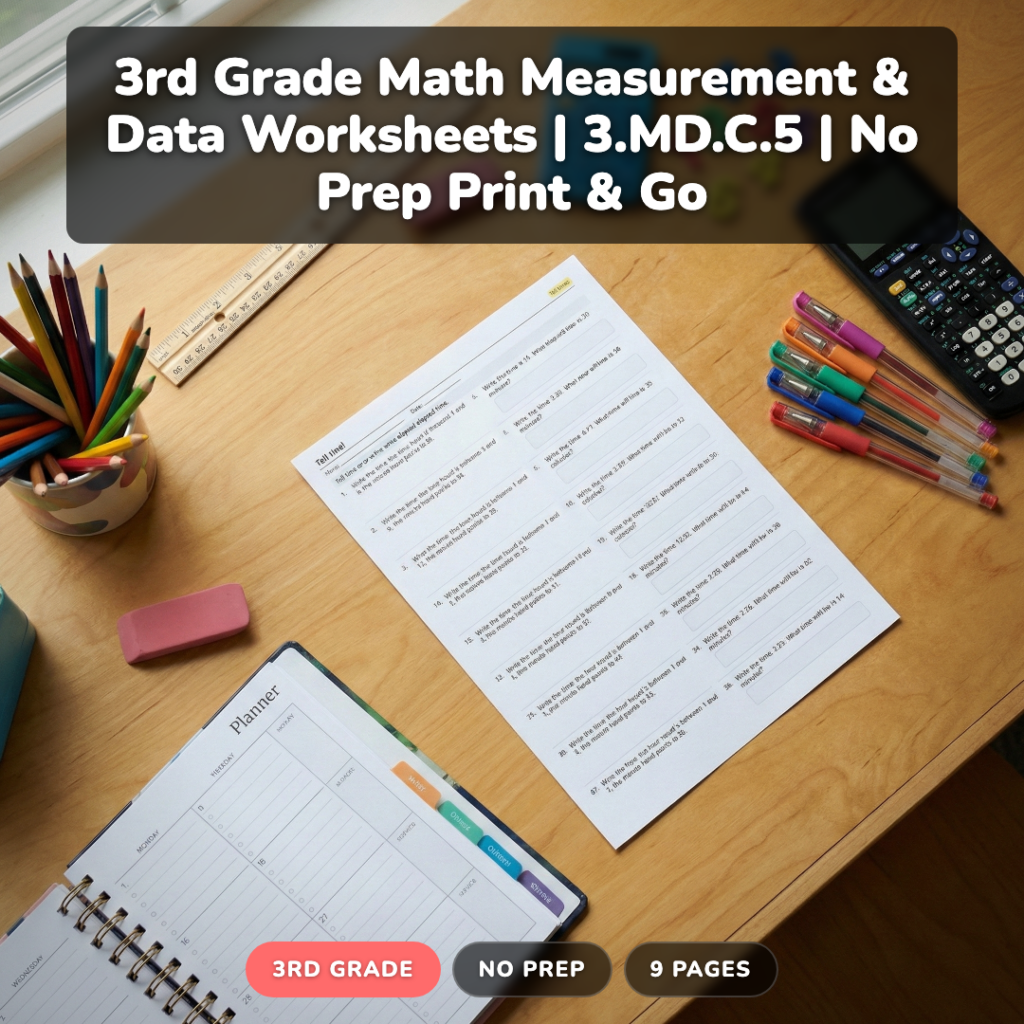
A Ready-to-Use Area Measurement Resource for Your Classroom
Teaching area measurement requires a lot of different practice opportunities — from basic counting to complex problem-solving. That’s why I created a comprehensive area measurement pack that takes the prep work off your plate.
This resource includes 132 problems across three differentiation levels: 37 practice problems for students building foundational skills, 50 on-level problems aligned to grade expectations, and 45 challenge problems for advanced learners. Each level includes answer keys and covers everything from basic square counting to real-world applications.
What makes this different is the systematic progression — students start with simple grid counting and build toward complex problem-solving, all while reinforcing the core concept that area measures the space inside a shape using square units.
The 9-page pack covers every skill your students need to master area measurement, with built-in differentiation so every learner can succeed.

Grab a Free Area Measurement Sample to Try
Want to see how these strategies work in practice? I’ll send you a free sample worksheet with 5 area problems at different levels, plus an answer key and teaching tips.
Frequently Asked Questions About Teaching Area Measurement
When should I introduce area measurement in third grade?
Area measurement typically comes in the spring semester after students have mastered multiplication facts and geometric shape identification. Students need strong counting skills and understanding of square units before tackling area concepts systematically.
Should I teach area and perimeter together or separately?
Teach area first, then perimeter separately. Students often confuse these concepts when introduced simultaneously. Focus on area as “space inside” using square units, then introduce perimeter as “distance around” using linear units several weeks later.
How do I help students who keep confusing area and perimeter?
Use consistent color coding: blue for area (inside), red for perimeter (around the edge). Have students trace the perimeter with their finger while saying “around” and point to the inside while saying “area.” Practice with physical tiles reinforces the difference.
What’s the biggest mistake teachers make when teaching area?
Rushing to the formula (length × width) before students understand what area means. Students need extensive experience counting square units and covering shapes before any computational shortcuts. Conceptual understanding must come first.
How do I assess whether students truly understand area measurement?
Ask students to explain their thinking while solving area problems. Can they identify area as a measurable attribute? Do they count square units systematically? Can they compare areas and explain which is larger using mathematical reasoning?
Building Strong Area Measurement Skills
Area measurement success comes from building conceptual understanding before procedural fluency. When students truly grasp that area measures the space inside shapes using square units, they’re ready for more complex geometry and measurement challenges ahead.
What’s your biggest challenge when teaching area measurement? I’d love to hear about strategies that work in your classroom — and don’t forget to grab that free sample above to try these techniques with your students.
For more measurement activities, check out our perimeter teaching strategies that build on these area concepts.